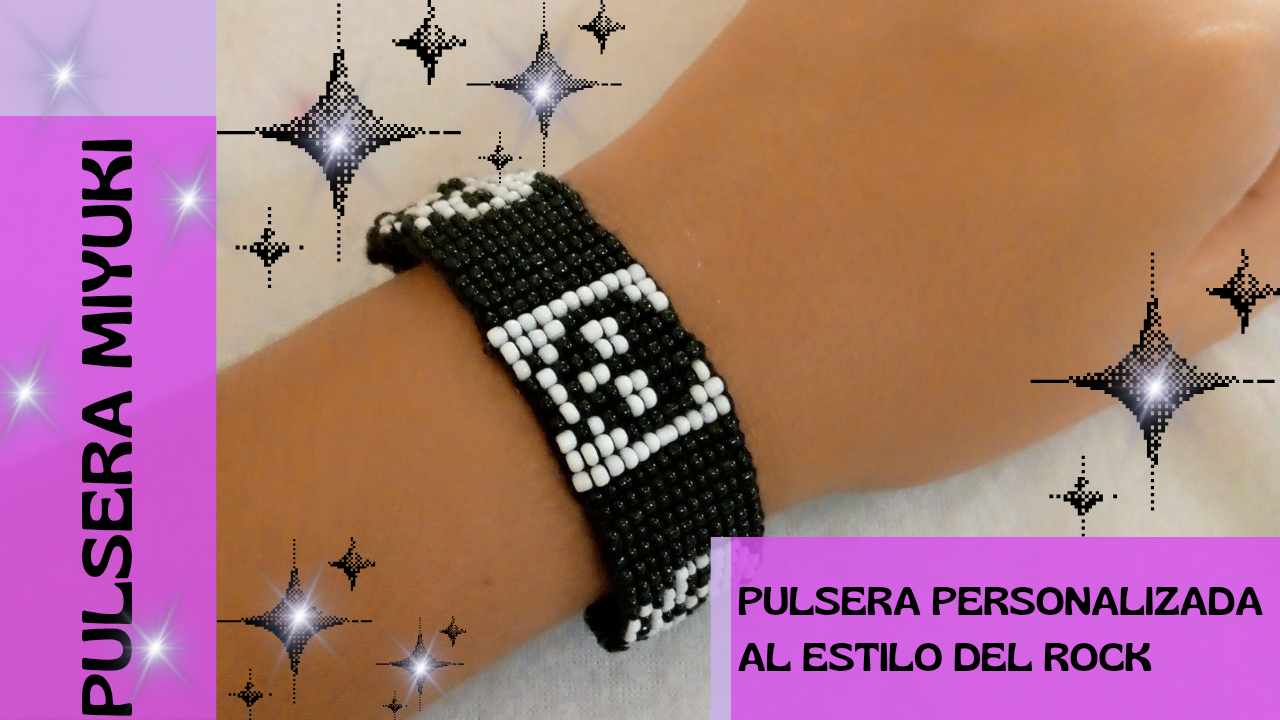
Realizando mi propia pulsera Miyuki personalizada.//Making my own custom Miyuki bracelet.(Esp-Eng)
Hello everyone in this wonderful jewelry community! It's a pleasure to address you on this special evening. I hope you're enjoying your time and that you'll join me on this new creative adventure. Today I've decided to embark on creating a custom Miyuki bracelet, and I want to share the process with all of you.
Since I began exploring the world of jewelry, I've discovered that every piece I create is a form of art. Jewelry isn't just an accessory; it's an expression of our personality and style. This time, I decided to inspire my design with rock style, a genre that has always resonated with me. When thinking about the design, I remembered that I made a similar bracelet for my last creation, and although I loved it, I wanted this new piece to be unique and different. However, one persistent idea wouldn't let me: the inclusion of a skull. The skull on my previous bracelet had fascinated me, so I decided I should incorporate it again, but with an original twist. To carry out my idea, I headed to the nearest jewelry store. After some searching, I opted for black and white seed beads. This contrast is not only visually striking but also evokes the duality of rock style: the strength of black and the purity of white. My plan is to create skulls in black and white, playing with symmetry and balance in the design. I can't wait to start putting the pieces together and see them come to life.
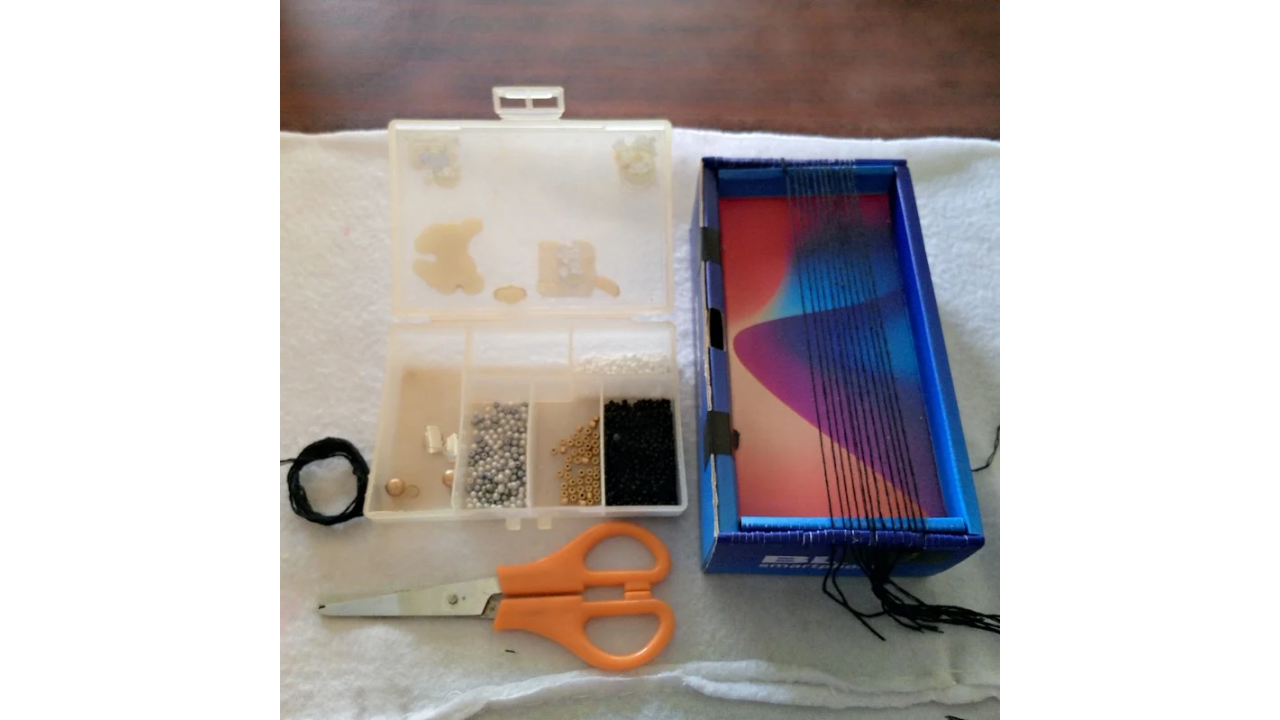
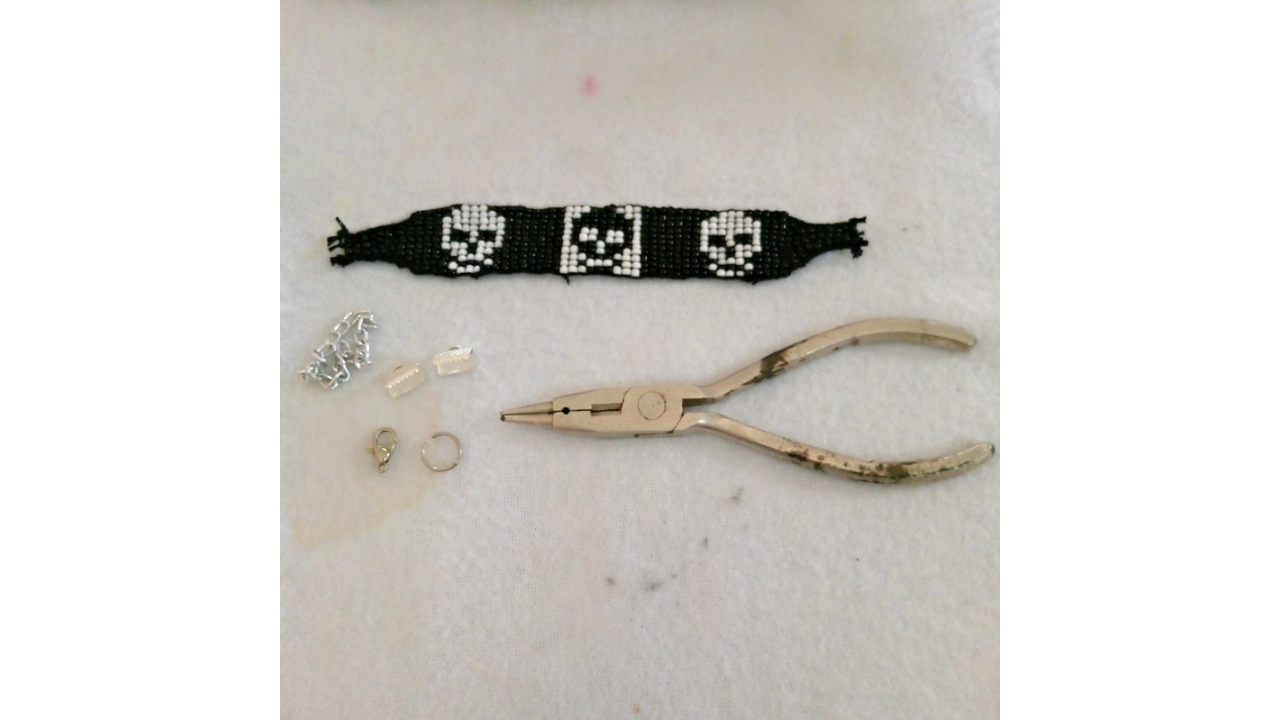
(Materiales:)||(Materials:)
- Mostacillas de color negro y blanco
- Hilo negro de bordado o nilón
- Tijeras
- Tapa nudos
- Argolla o cadenitas
- Un pico de loro
- Aguja de coser a mano
- Un telar
- Black and white seed beads
- Black embroidery thread or nylon thread
- Scissors
- Knot stoppers
- Jump ring or chain
- A parrot beak
- Hand sewing needle
- A loom
(Procedimiento:)||(Procedure:)
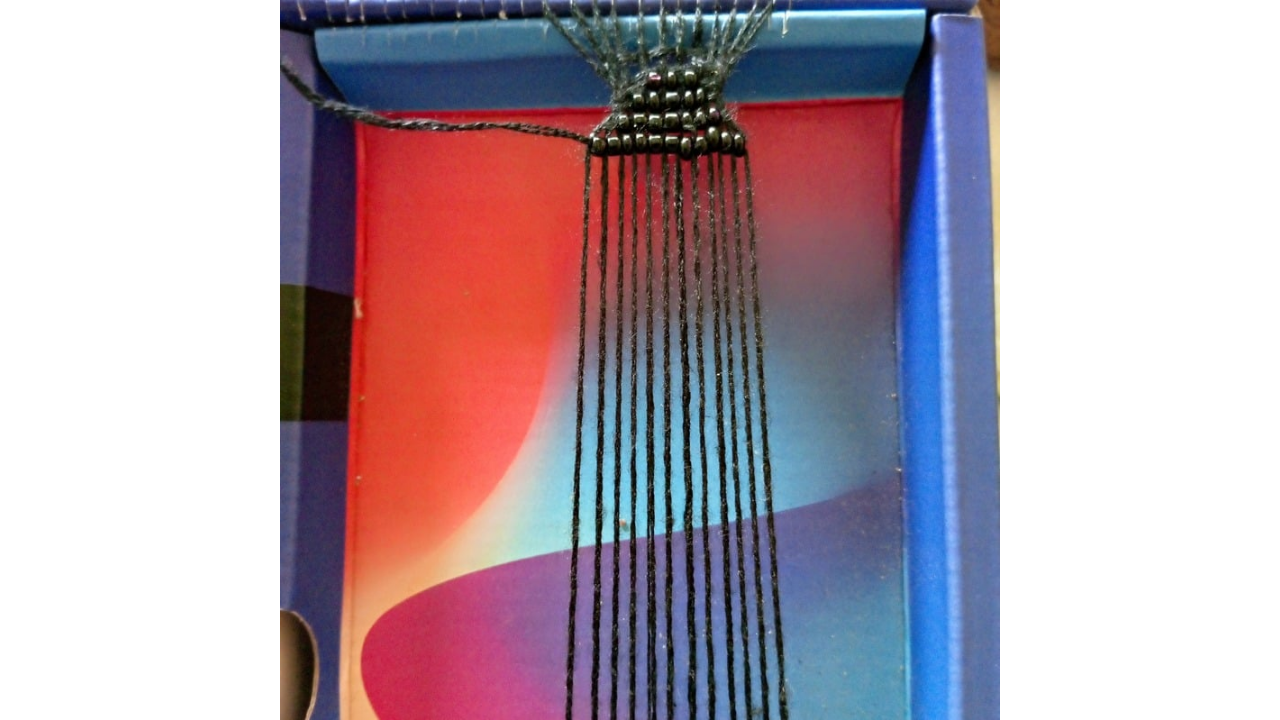
Paso nro 1
Paso nro 1
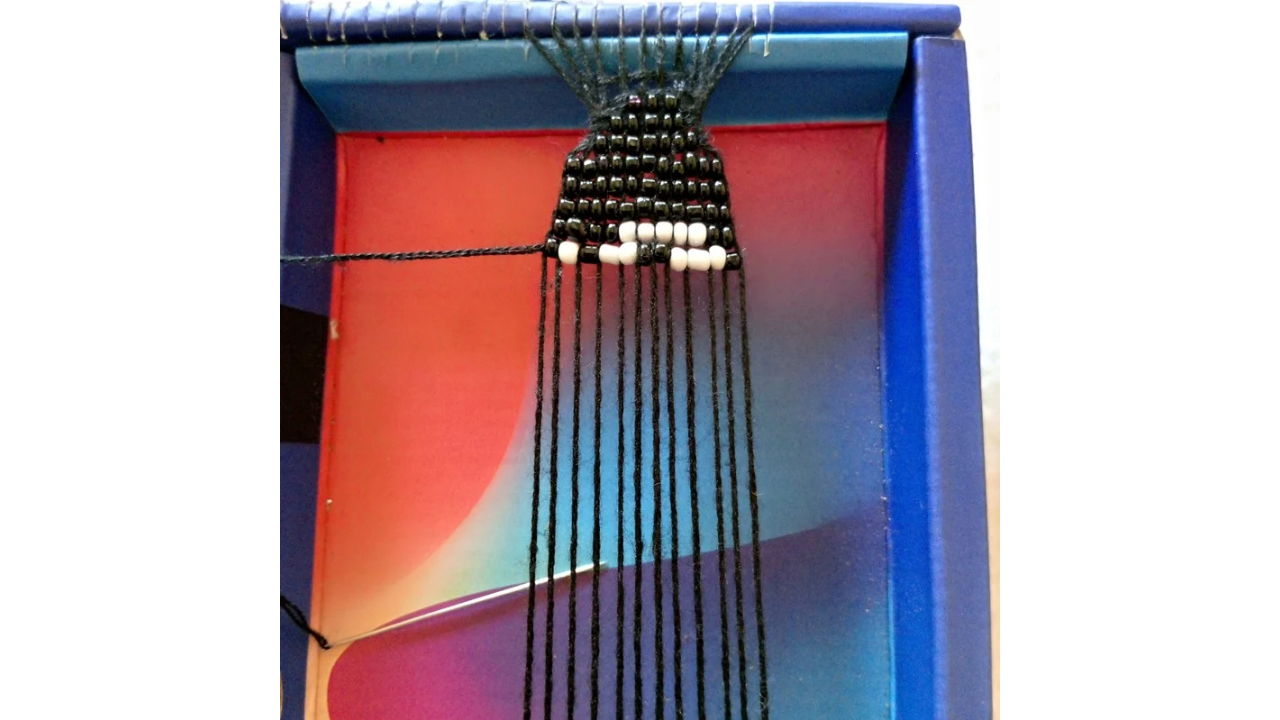
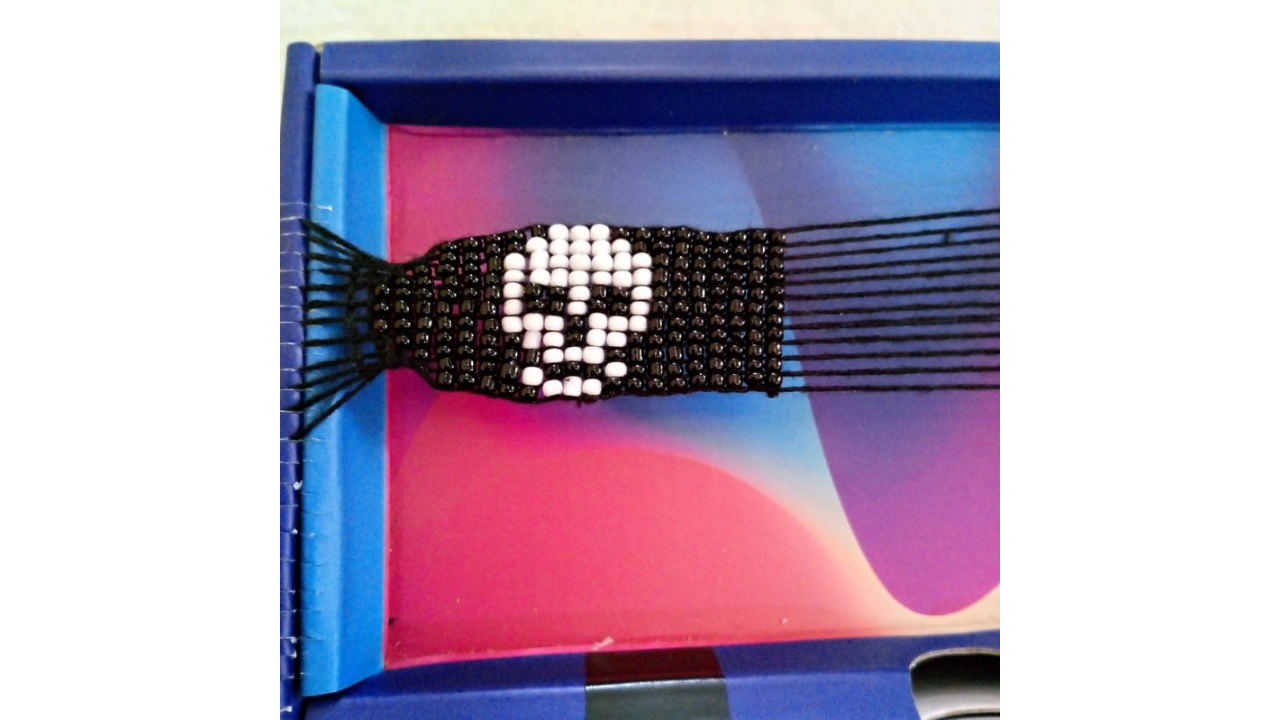
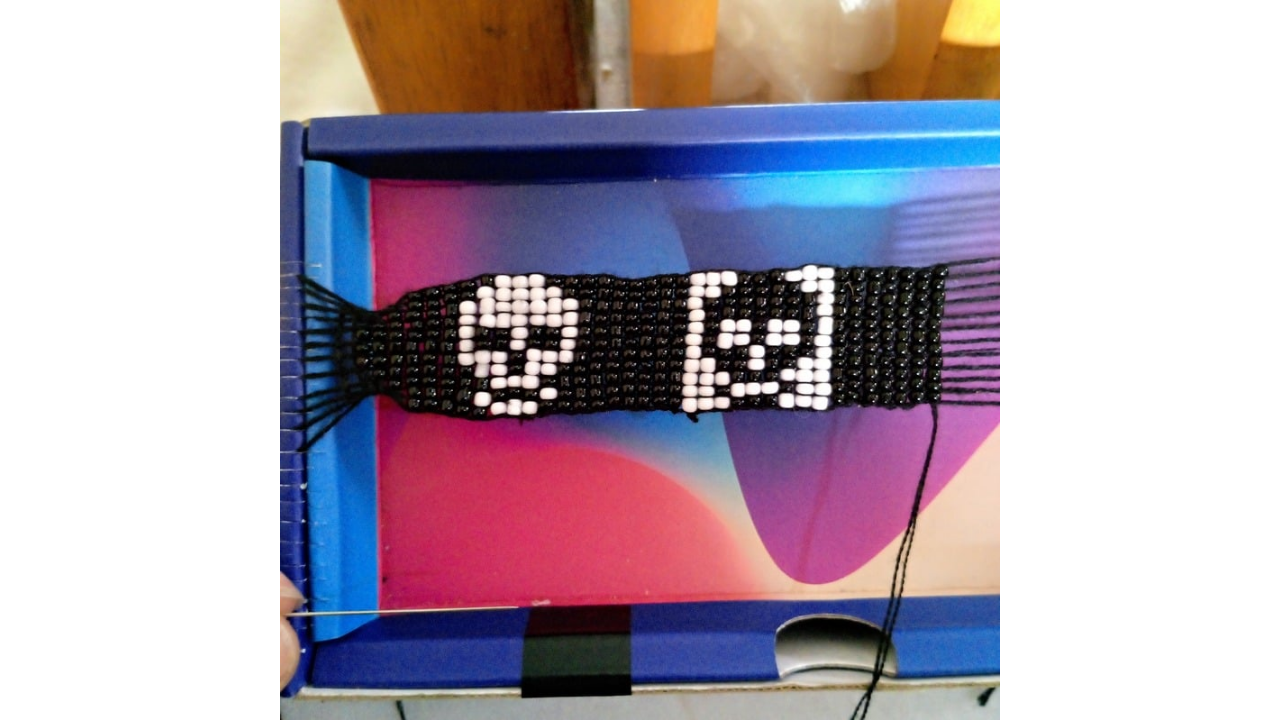
First, I set up my loom, which is actually my trusty phone case. Unfortunately, I haven't been able to find a suitable loom in my area, so I've had to make do with what I have on hand. Creativity sometimes requires adapting to circumstances, right? To begin, I cut the rows of thread I would use in the design. I preferred to cut the threads so that they would go all the way around the box, ensuring they wouldn't easily come loose during the weaving process. To keep everything in place, I used masking tape, which allowed me to securely fix the threads and prevent them from shifting while I worked. In total, I laid out eleven rows of thread, taking care to leave enough space between each one. This space is crucial, as it will allow me to work more comfortably and precisely as I incorporate the beads into my design. With the loom now set up, I began the first steps in creating the bracelet. To start, I placed three black beads, marking the beginning of my design. My intention is to create a pattern that decreases in quantity as I progress. So, after starting with three beads, I plan to move on to five, then seven, and finally eleven. When I start the design, I keep in mind the details I want to include: the eyes, the nose, and the overall shape of the skull.
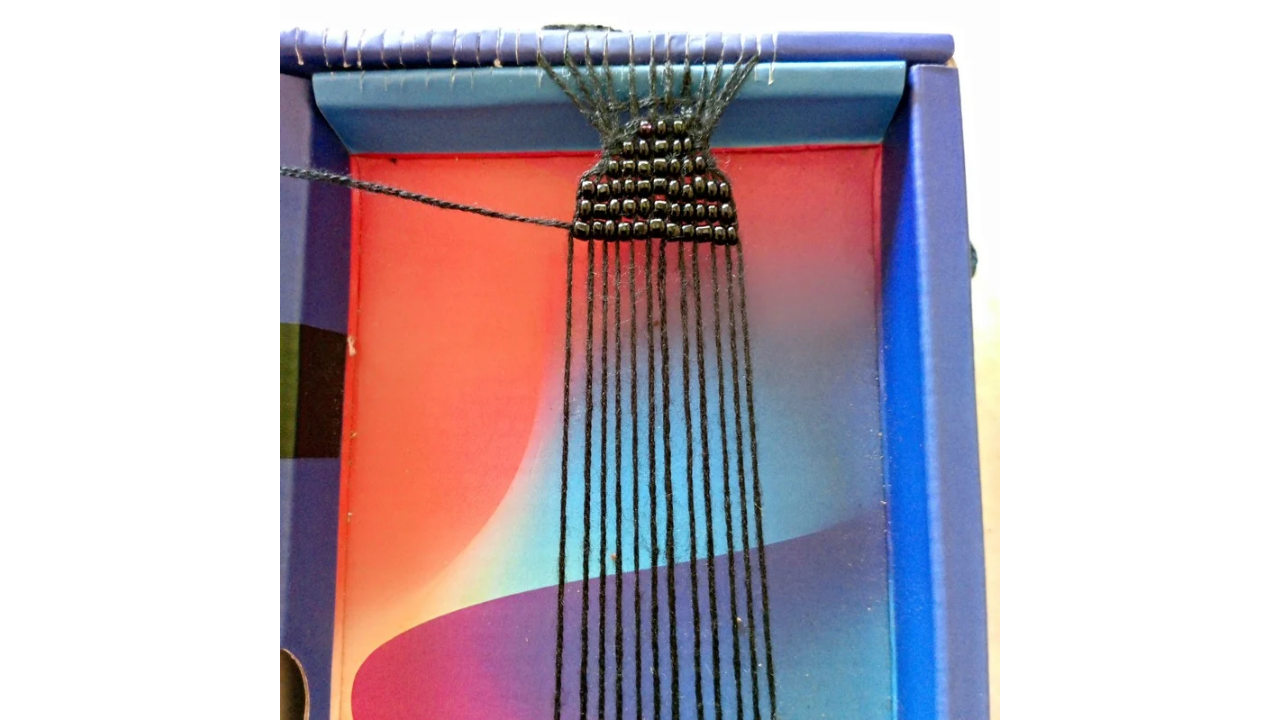
Paso nro 2
Paso nro 2
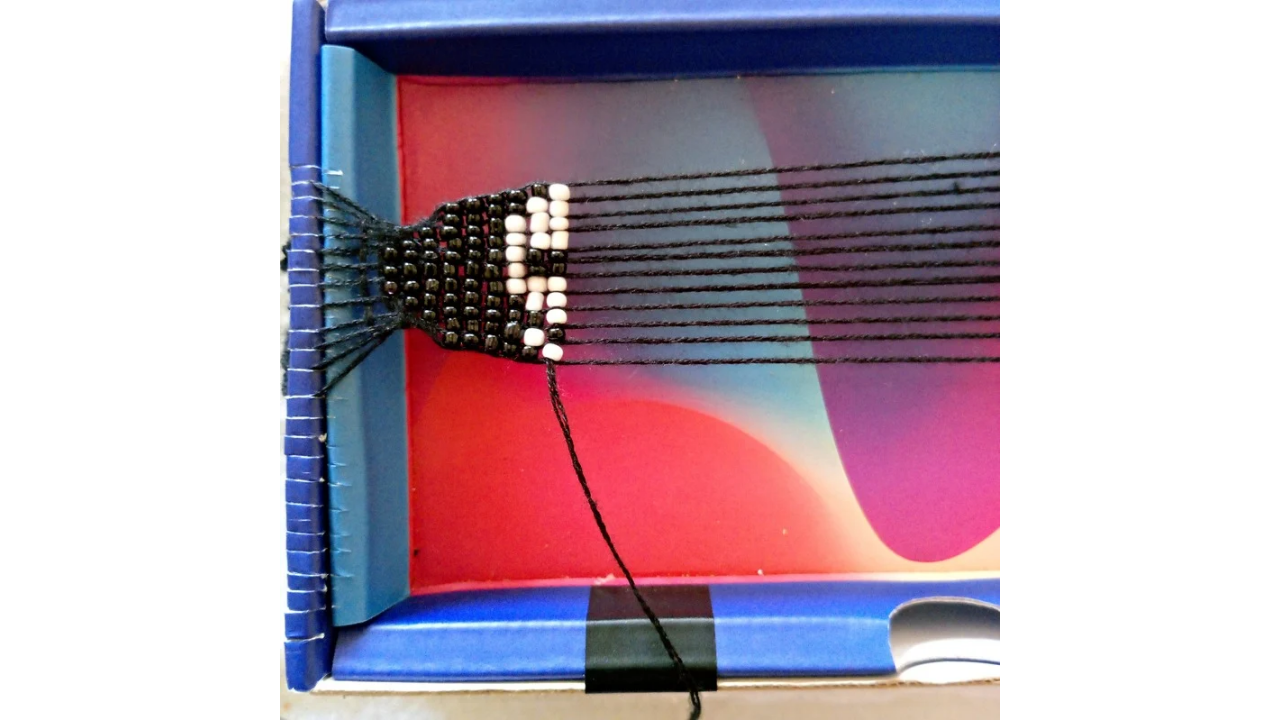
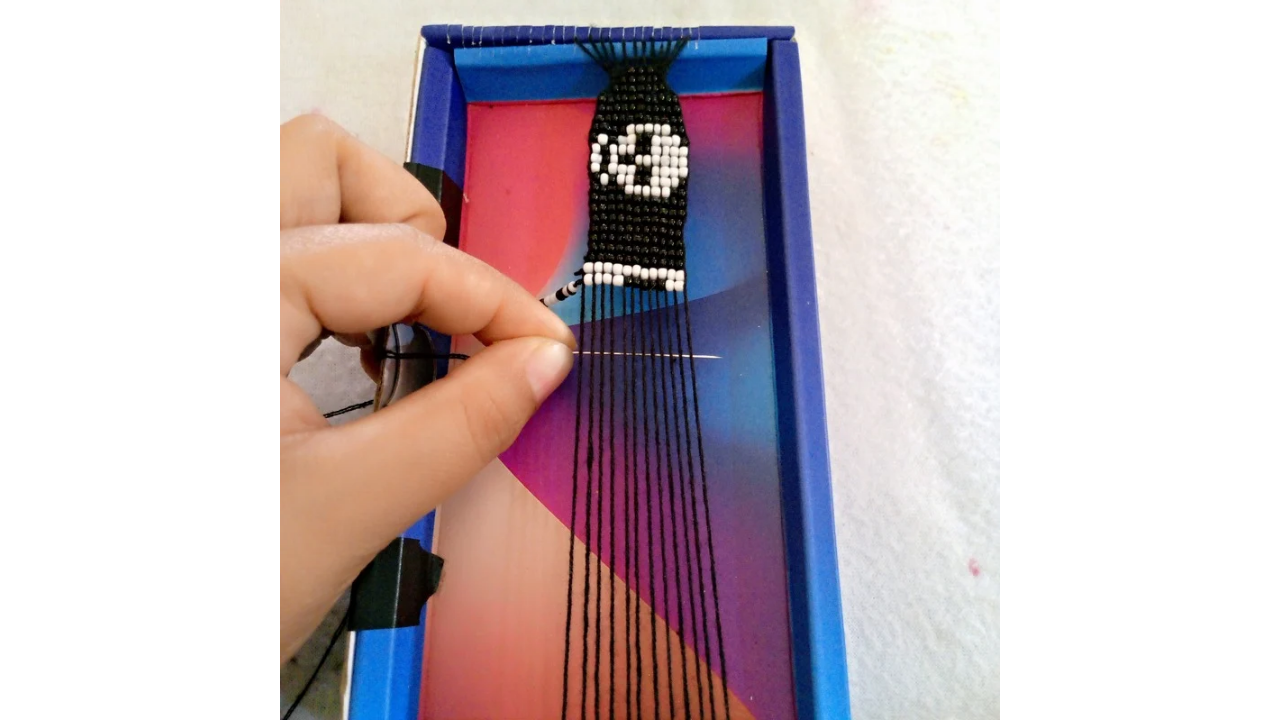
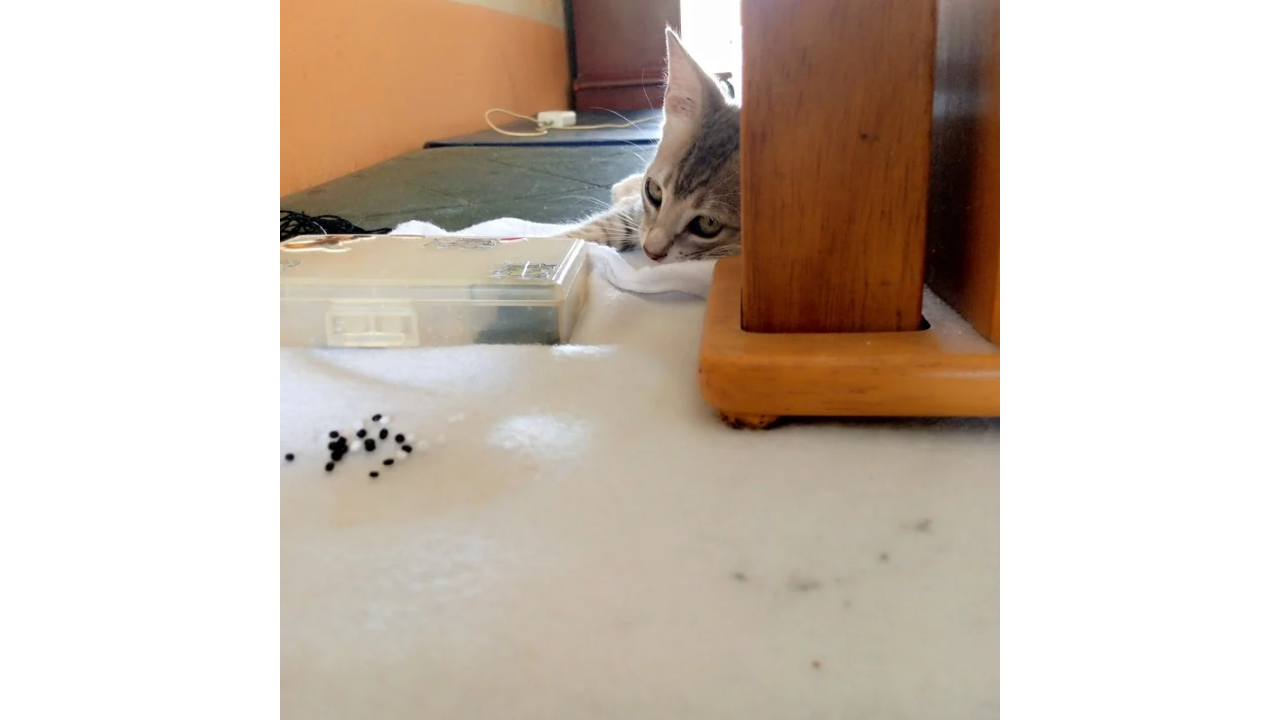
After completing the first white skull design, I made seven rows of beads as a separator. This will allow me to prepare the next design, which will be another skull, this time in black on a white background. I'm excited because I can already imagine how great this bracelet will look with the contrasting colors. While I was weaving the bracelet, my friend, Michito, decided to keep me company. He settled in next to me and, soon after, went to sleep, enjoying the peaceful atmosphere. However, in a funny moment, he woke up and started helping me with his soft little paw, which made me laugh. He even ate some of the beads! But don't worry, I managed to remove them in time before he swallowed something he shouldn't have.

Paso nro 3
Paso nro 3
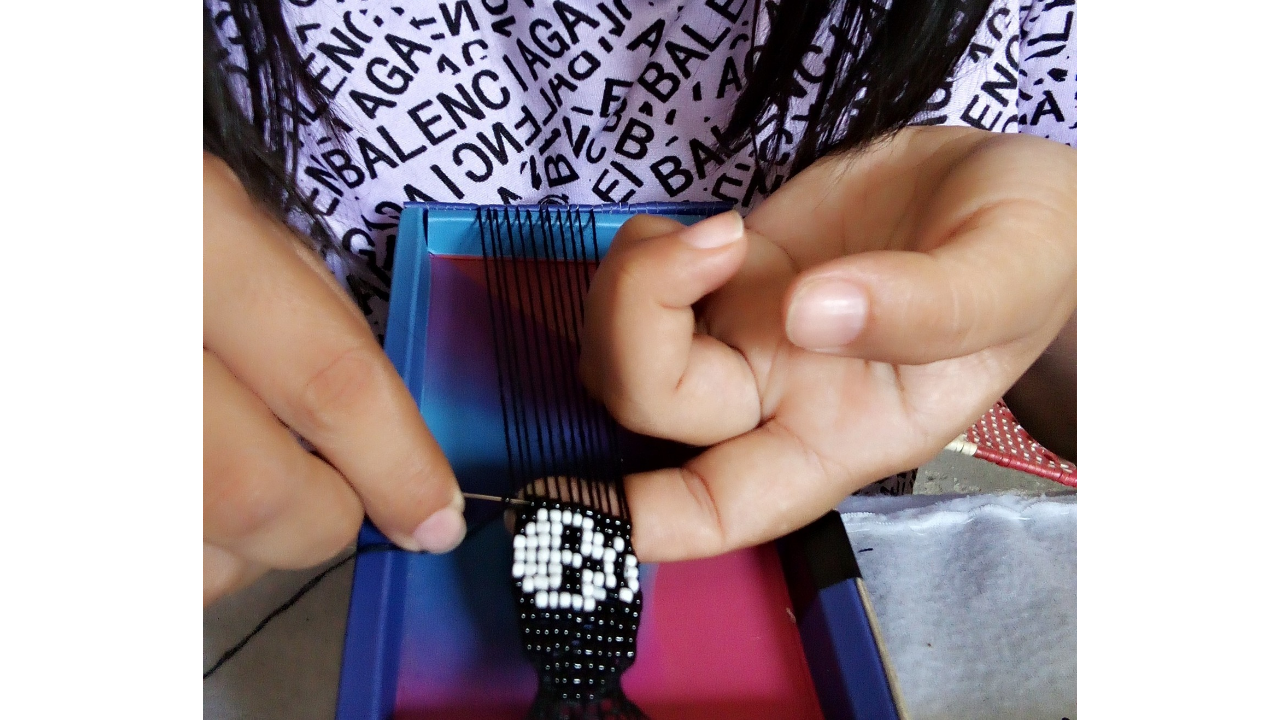
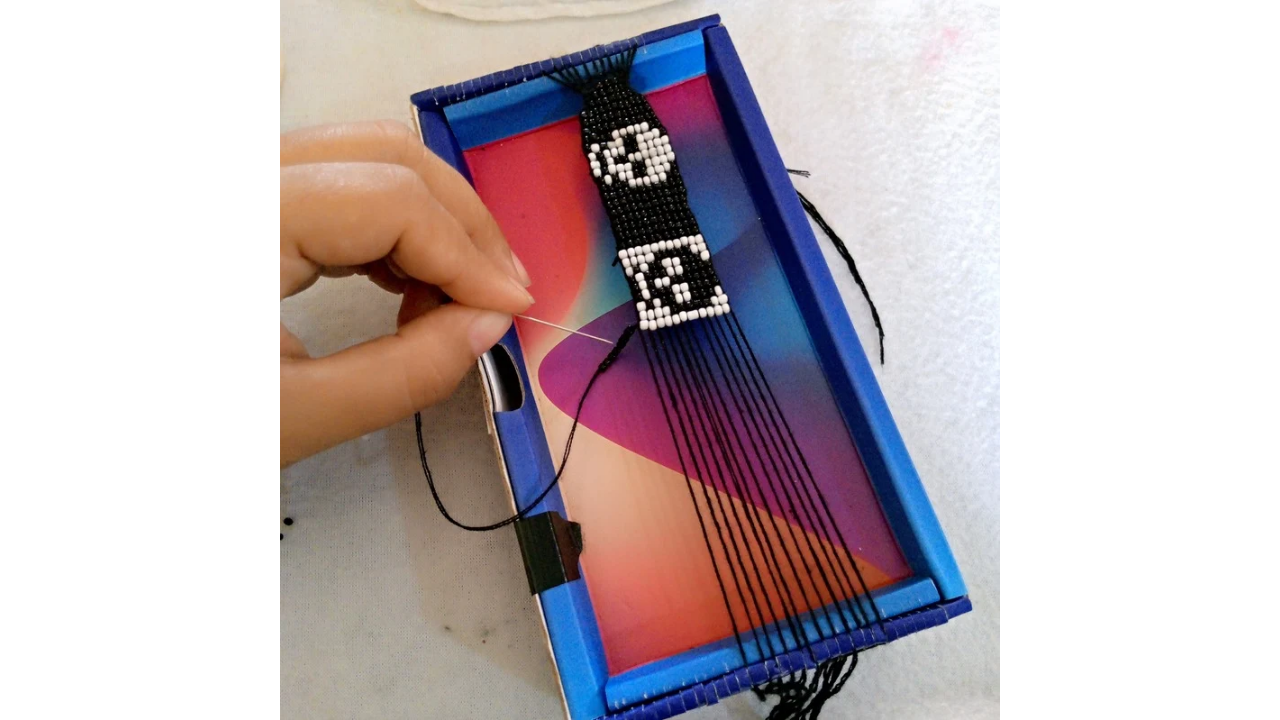
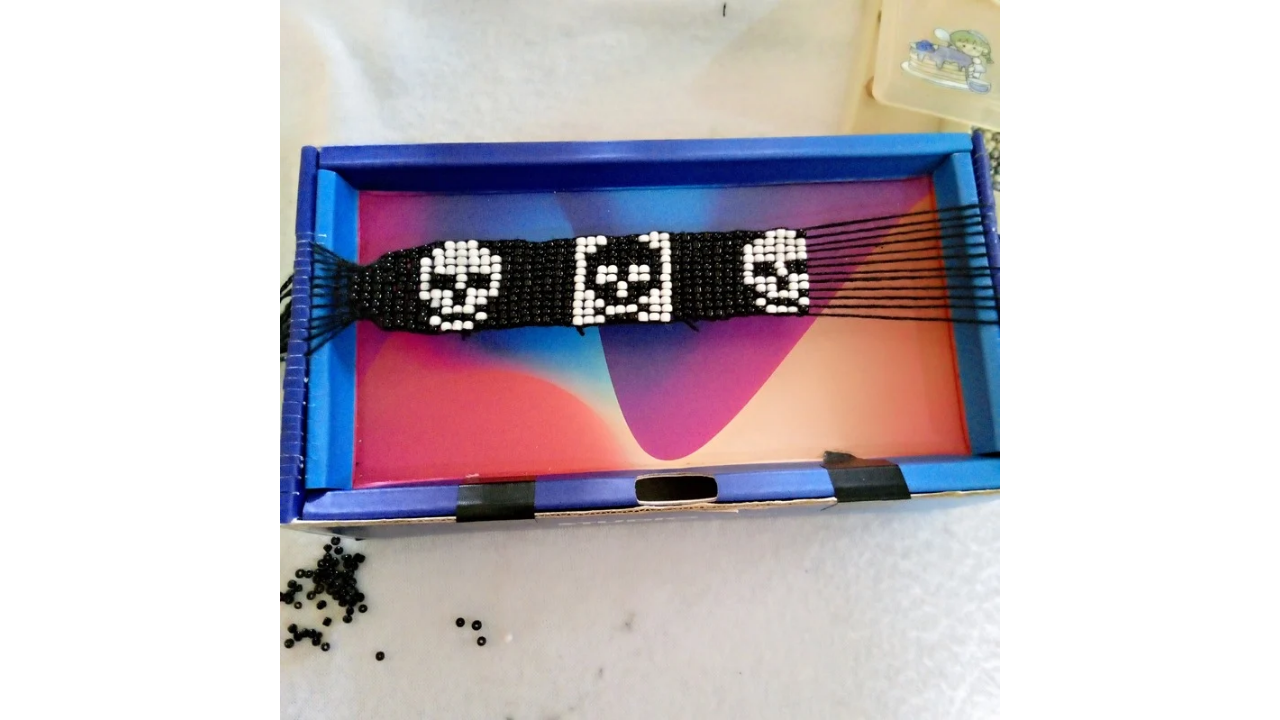
Then, I continued with the seven rows of beads, creating a perfect separation for the next design. I started working on the third skull, which will be the same as the first. This way, I'll maintain consistency in the design, leaving just one different skull in the middle to add a unique and distinctive touch to the bracelet. I think the idea of having two white skulls on the sides and one black skull in the center is brilliant.
Paso nro 4
Paso nro 4
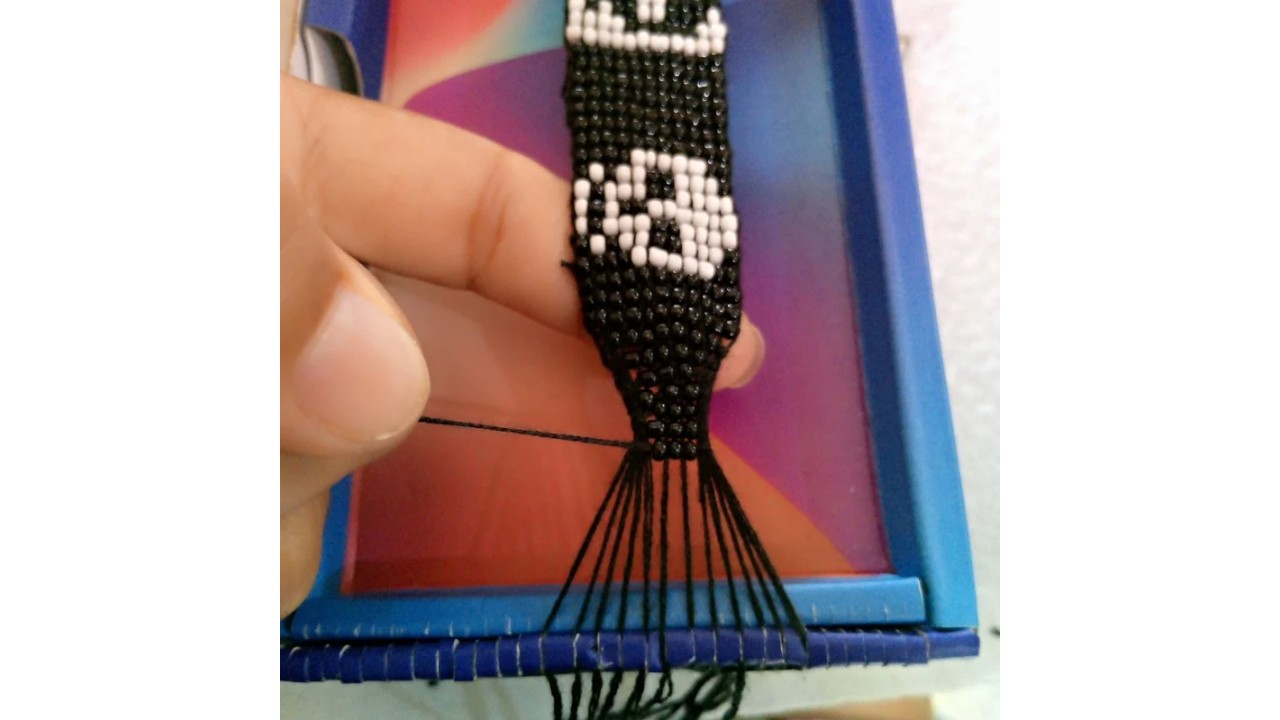
Once I had almost the design ready, I continued weaving until I finished, returning to the beginning with three beads. This return to the beginning not only completes the pattern but also gives the bracelet a symmetrical and balanced touch. To ensure a better finish, I decided to tie several knots at the end of the weaving. These knots ensure the bracelet's durability, preventing the beads from coming loose over time.
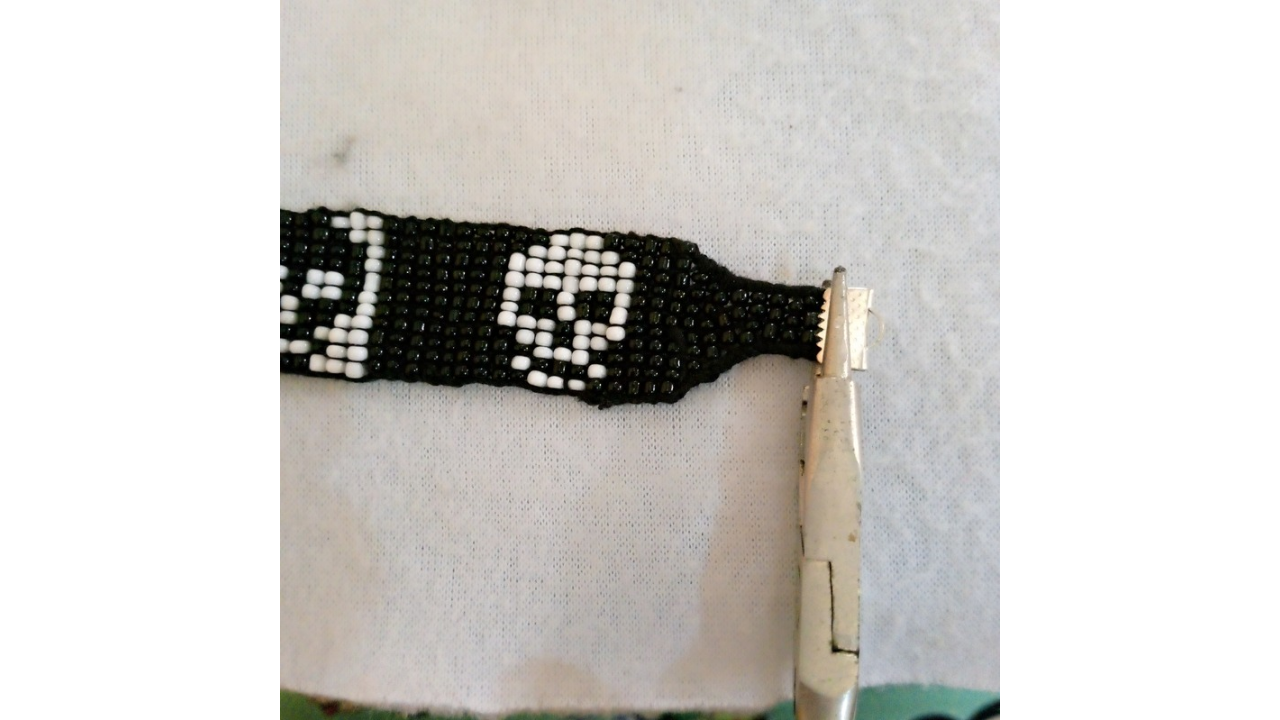
Paso nro 5
Paso nro 5
Finally, I'll be adding knot covers and a jump ring to the bracelet to add a parrot beak, which I believe is its name. This detail will not only give it an elegant touch, but will also make the bracelet adjustable and easy to put on. I also plan to add a small chain that will complement the design and give it a professional finish. The combination of the knot covers, jump ring, and chain will make the bracelet even more attractive and functional.
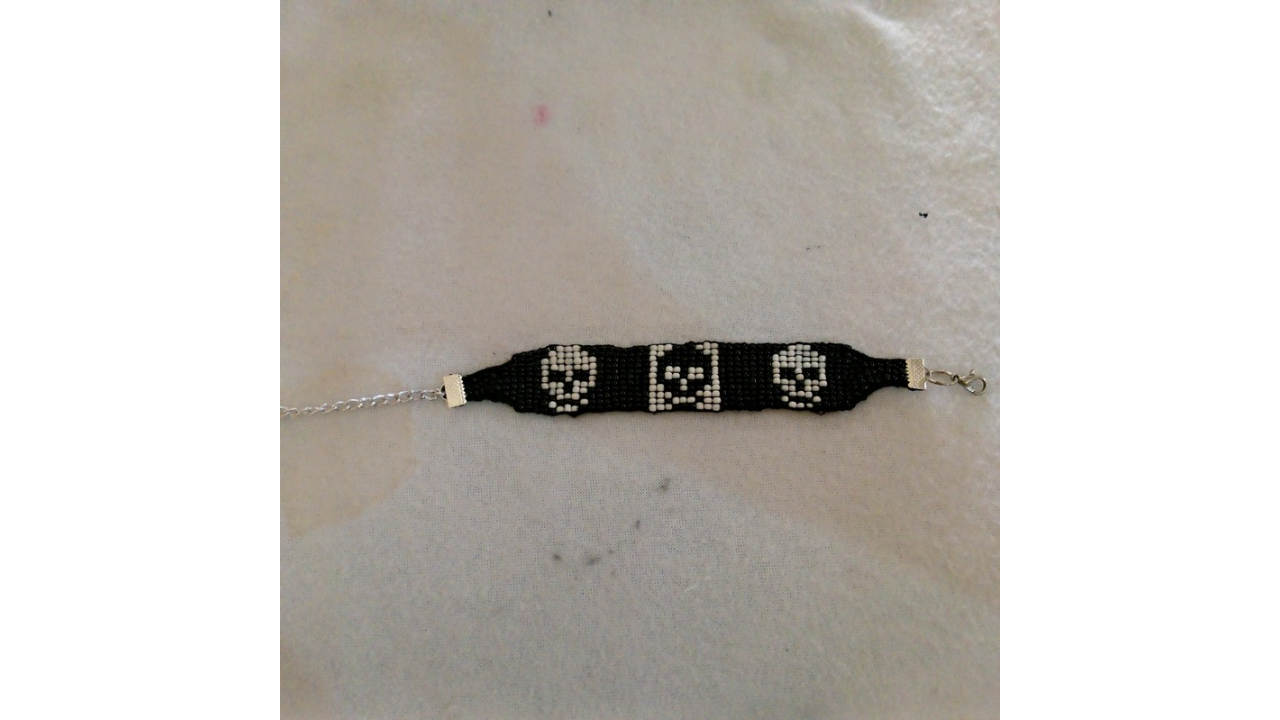
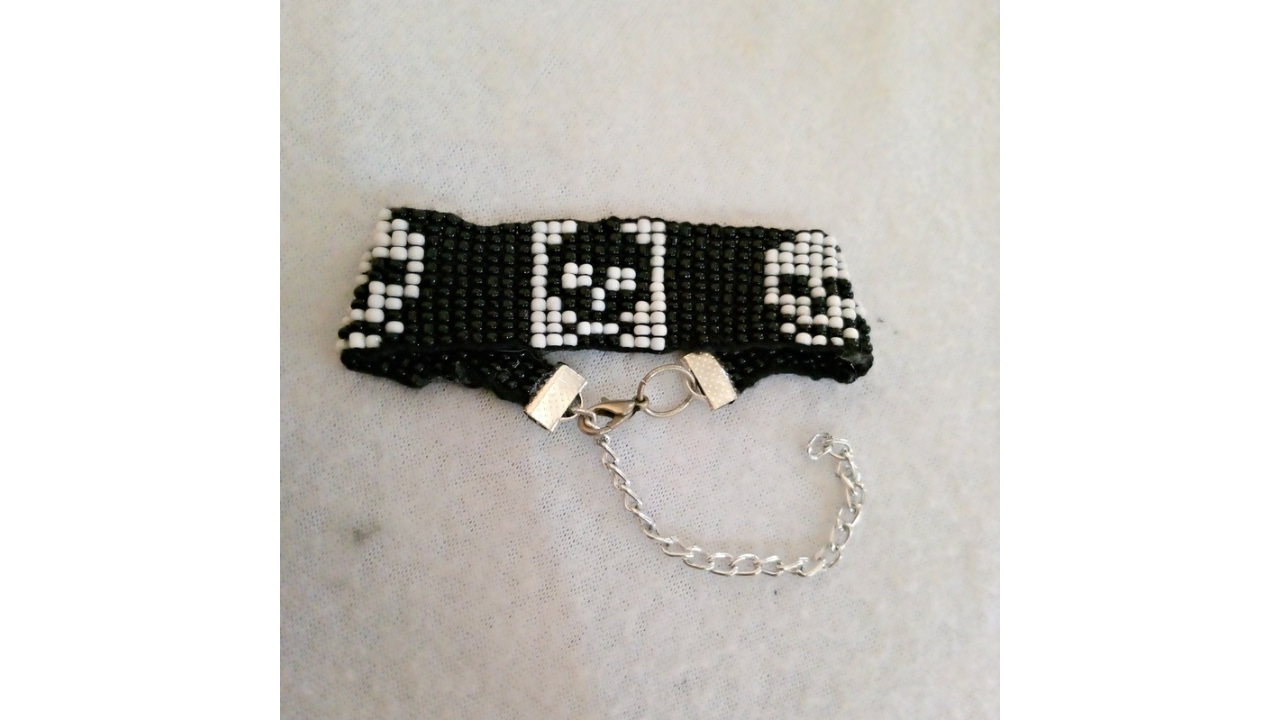
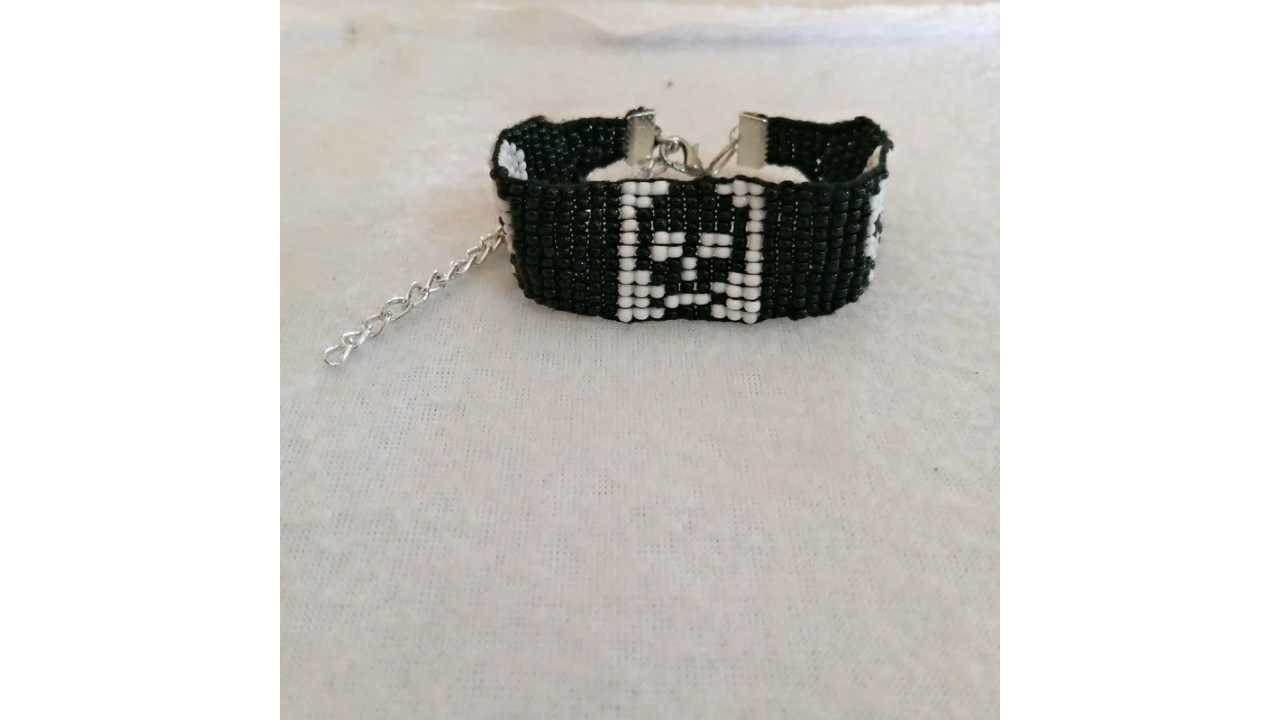
(Resultado final:)||(Bottom line:)
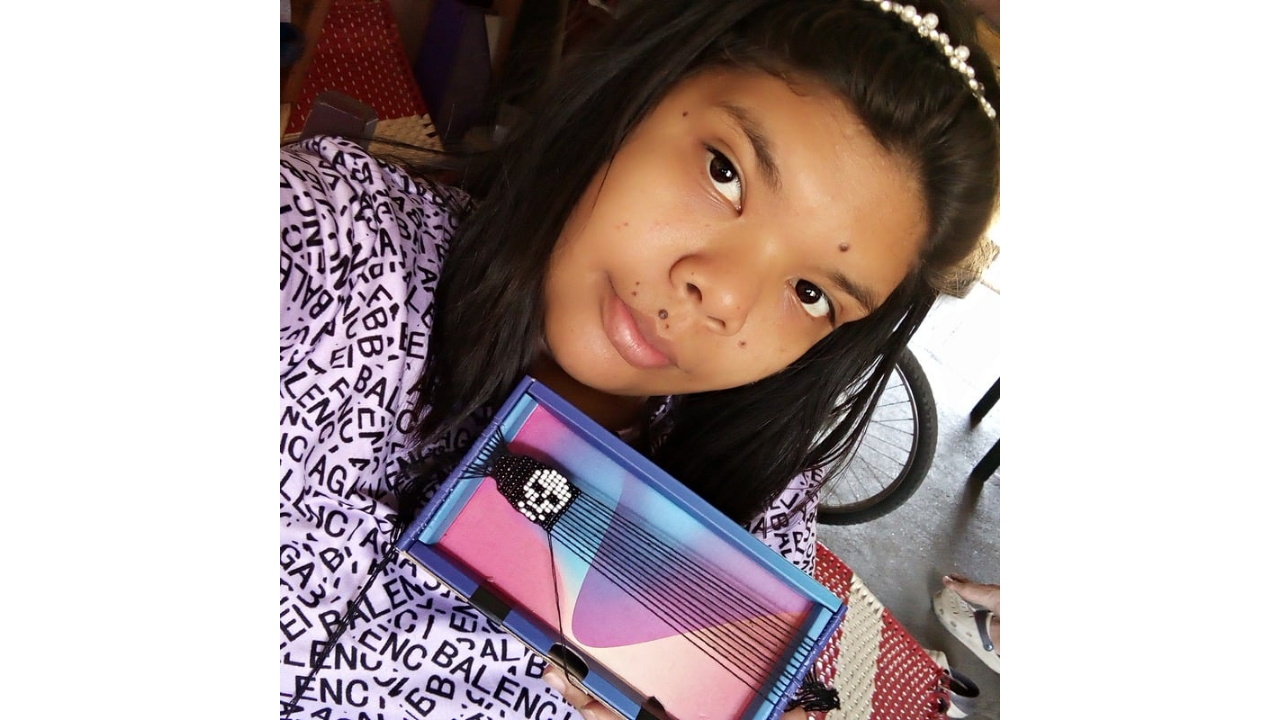
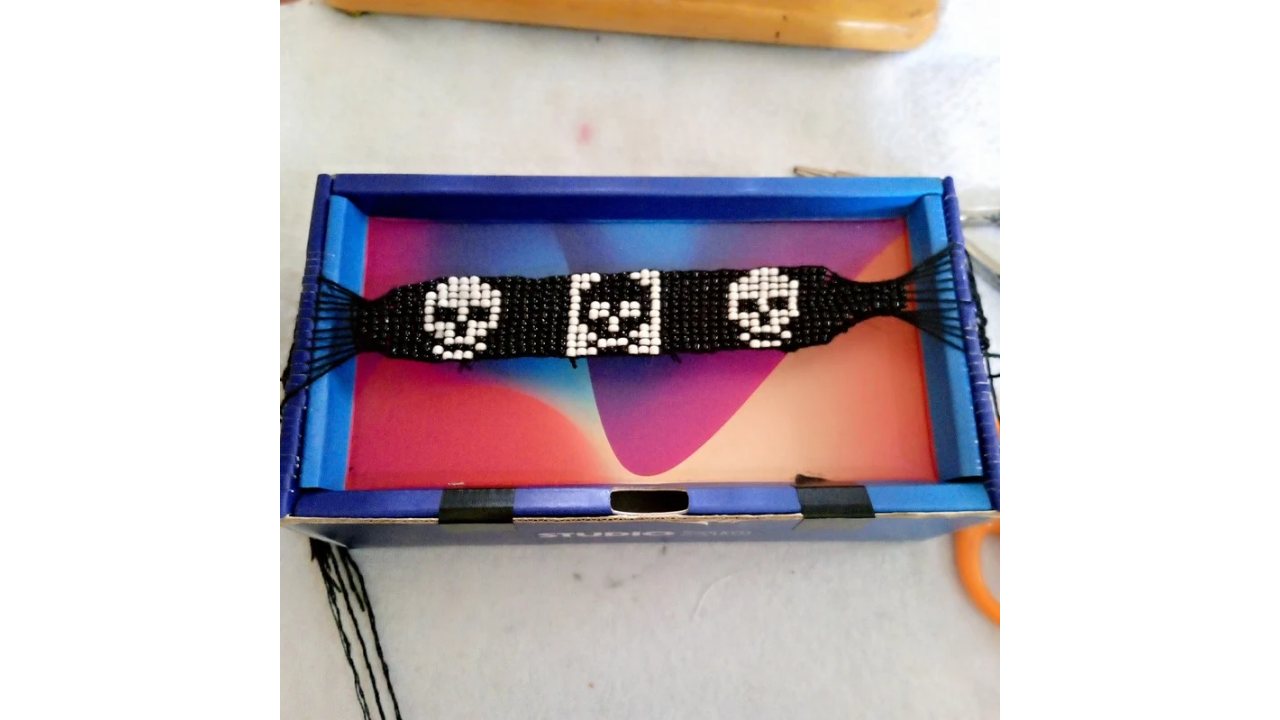
And so my bracelet is ready! I truly love how it turned out and am impressed with the final result. Every detail, from the beads to the skulls and the finishes, has come together to create a unique and special piece. I hope you love it as much as I do. I'm excited to continue sharing more jewelry and creative projects in the future. Thank you for joining me in this process!
Las fotos de este blog son de mi propiedad|Las imágenes son editadas en canva|Fotografías tomadas en mi celular infinix Smart 7|El contenido está traducido en el traductor de Firefox.
¡Enhorabuena!
✅ Has hecho un buen trabajo, por lo cual tu publicación ha sido valorada y ha recibido el apoyo de parte de CHESS BROTHERS ♔ 💪
♟ Te invitamos a usar nuestra etiqueta #chessbrothers y a que aprendas más sobre nosotros.
♟♟ También puedes contactarnos en nuestro servidor de Discord y promocionar allí tus publicaciones.
♟♟♟ Considera unirte a nuestro trail de curación para que trabajemos en equipo y recibas recompensas automáticamente.
♞♟ Echa un vistazo a nuestra cuenta @chessbrotherspro para que te informes sobre el proceso de curación llevado a diario por nuestro equipo.
🏅 Si quieres obtener ganancias con tu delegacion de HP y apoyar a nuestro proyecto, te invitamos a unirte al plan Master Investor. Aquí puedes aprender cómo hacerlo.
Cordialmente
El equipo de CHESS BROTHERS
Very nice bracelet that you give us using the miyuki technique,Excellent creative and well-detailed process to follow and obtain this beautiful final result.
selected by @dayadam
Thank you, I'm glad you liked it. Thank you.
¡Felicidades! Esta publicación obtuvo upvote y fue compartido por @la-colmena, un proyecto de Curación Manual para la comunidad hispana de Hive que cuenta con el respaldo de @curie.
Si te gusta el trabajo que hacemos, te invitamos a darle tu voto a este comentario y a votar como testigo por La Colmena.
Si quieres saber más sobre nuestro proyecto, te invitamos a acompañarnos en nuestro servidor de Discord.
Congratulations @stefany0720! You have completed the following achievement on the Hive blockchain And have been rewarded with New badge(s)
Your next target is to reach 15000 upvotes.
You can view your badges on your board and compare yourself to others in the Ranking
If you no longer want to receive notifications, reply to this comment with the word
STOPCheck out our last posts:
Buen trabajo 👍.
Gracias ☺️
Excelente trabajo ✨ lograste el impacto que buscabas con la combinación del blanco y negro y además tiene un acabado elegante y prolijo☺️
Gracias
Waao you made it very perfectly. Thanks for sharing.
thank you