A Deep Blue Gaze in the Cloudy Night.
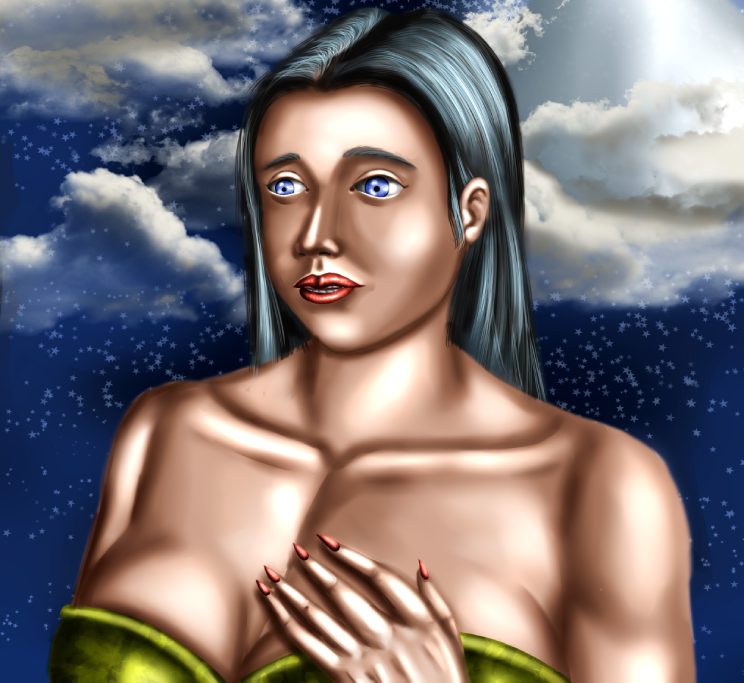
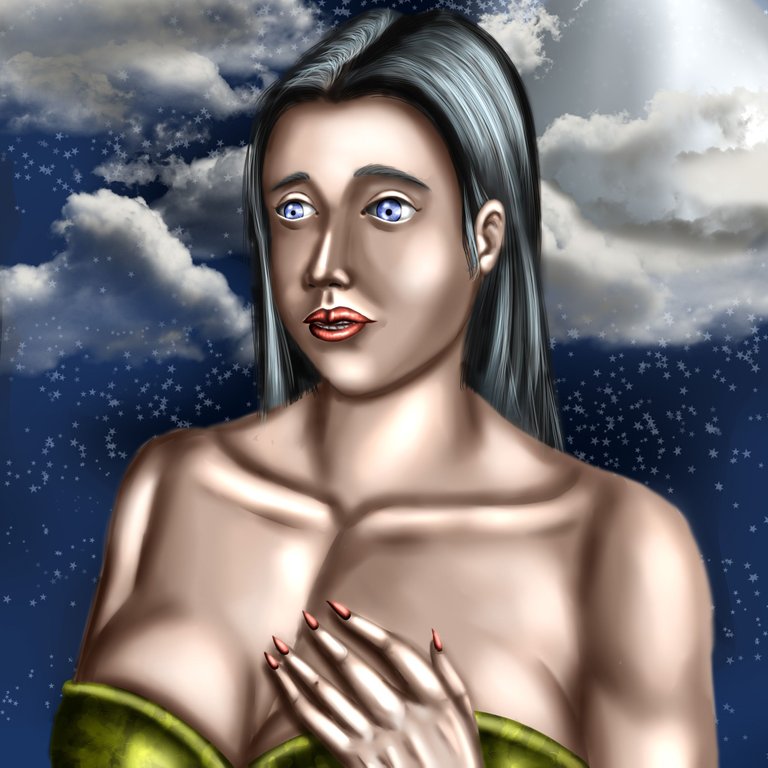
Hello my dear readers, happy friday to all of you and I hope you are feeling great and have had a great week full of productivity, for me it was a busy week because I had to do many personal errands, but I also took the opportunity to dedicate myself to draw as much time as I could to materialize many ideas that I had already planned, that's why today I want to share with you my last drawing, it is a work which I decided to title A Deep Blue Look in the Cloudy Night and it is about a girl named Amanda who is in an elegant high society party, during the night she felt the need to go out to get some fresh air when on her way out she met her old childhood sweetheart, whom she had not seen for more than 20 years and immediately the memories invaded her; It seems that both of them have not been able to forget each other:
Hola mis queridísimos lectores, feliz viernes para todos y espero que se encuentren súper bien y que hayan tenido una grandiosa semana llena de productividad, para mí fue una semana full ocupada pues me toco hacer muchas diligencias personales, pero también pues aproveche para dedicarme a dibujar el mayor tiempo que pude para materializar muchas ideas que tenía ya planificadas, es por ello que el día de hoy quiero compartirles mi último dibujo, se trata de una obra a la cual decidí titular Una Profunda Mirada Azul en la Noche Nublosa y se trata de una chica llama Amanda la cual se encuentra en una elegante fiesta de alta sociedad, durante la noche sintió la necesidad de salir a tomar un poco de aire fresco cuando de camino a la salida se cruzó con su antiguo amor de la infancia, al cual llevaba más de 20 años que no veía e inmediatamente los recuerdos la invadieron por completo; pues al parecer ambos no han podido olvidarse del otro:
PROCESS / PROCESO
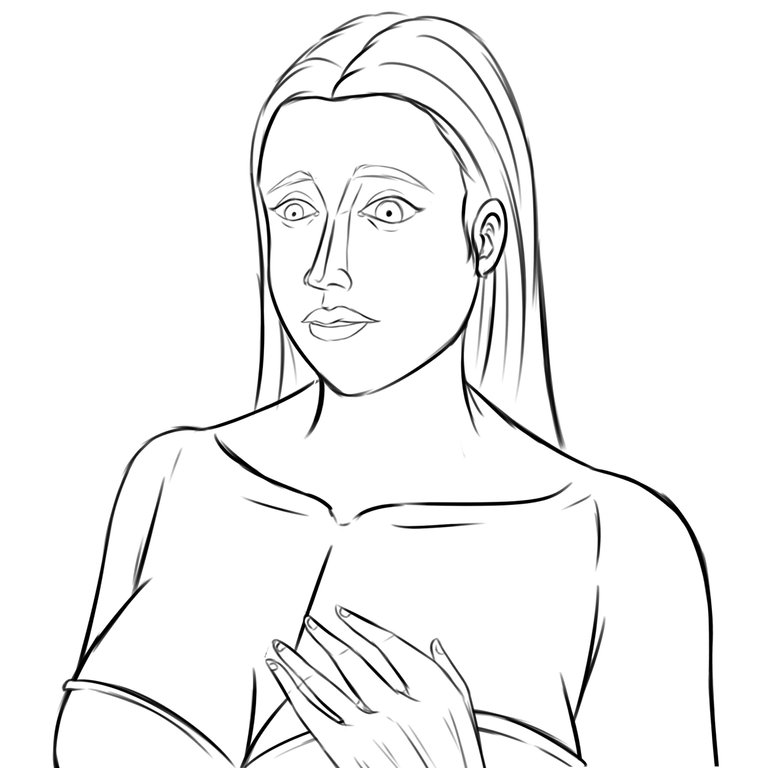
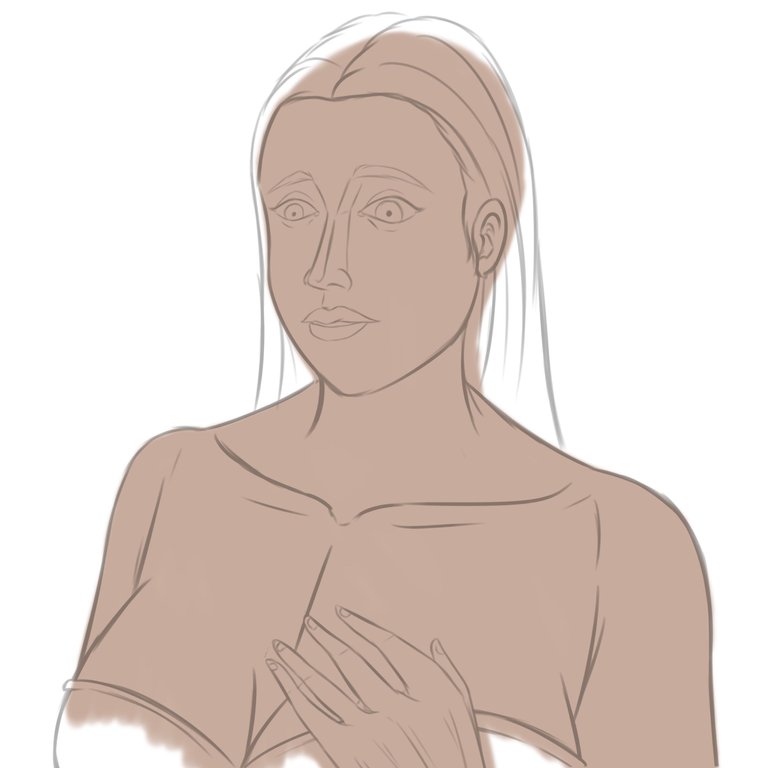
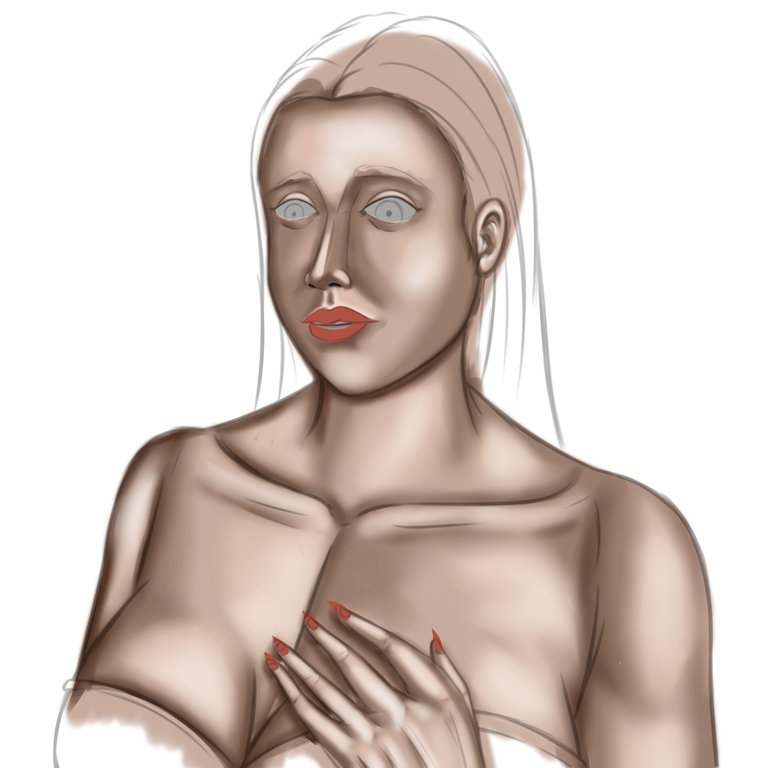
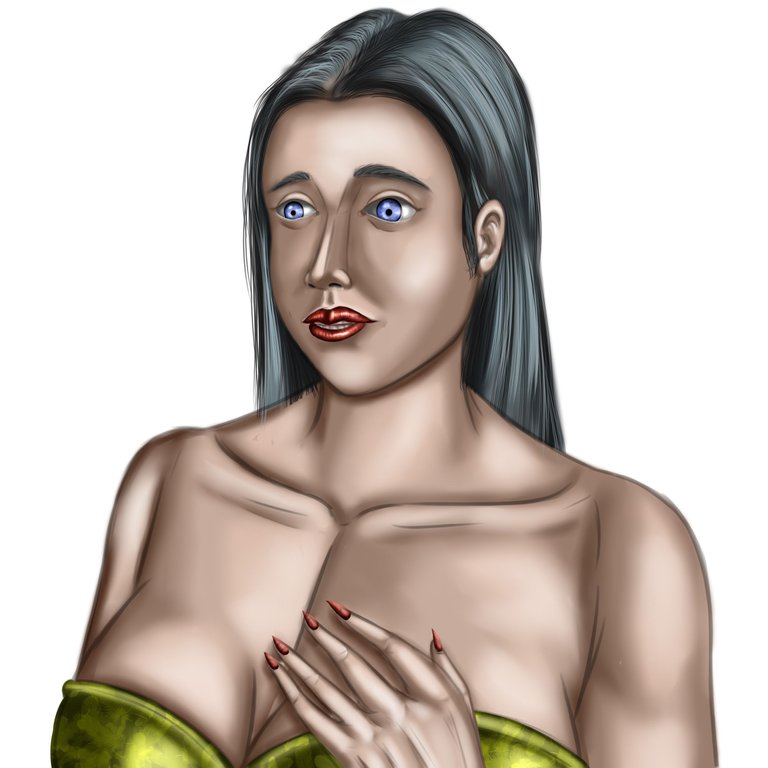
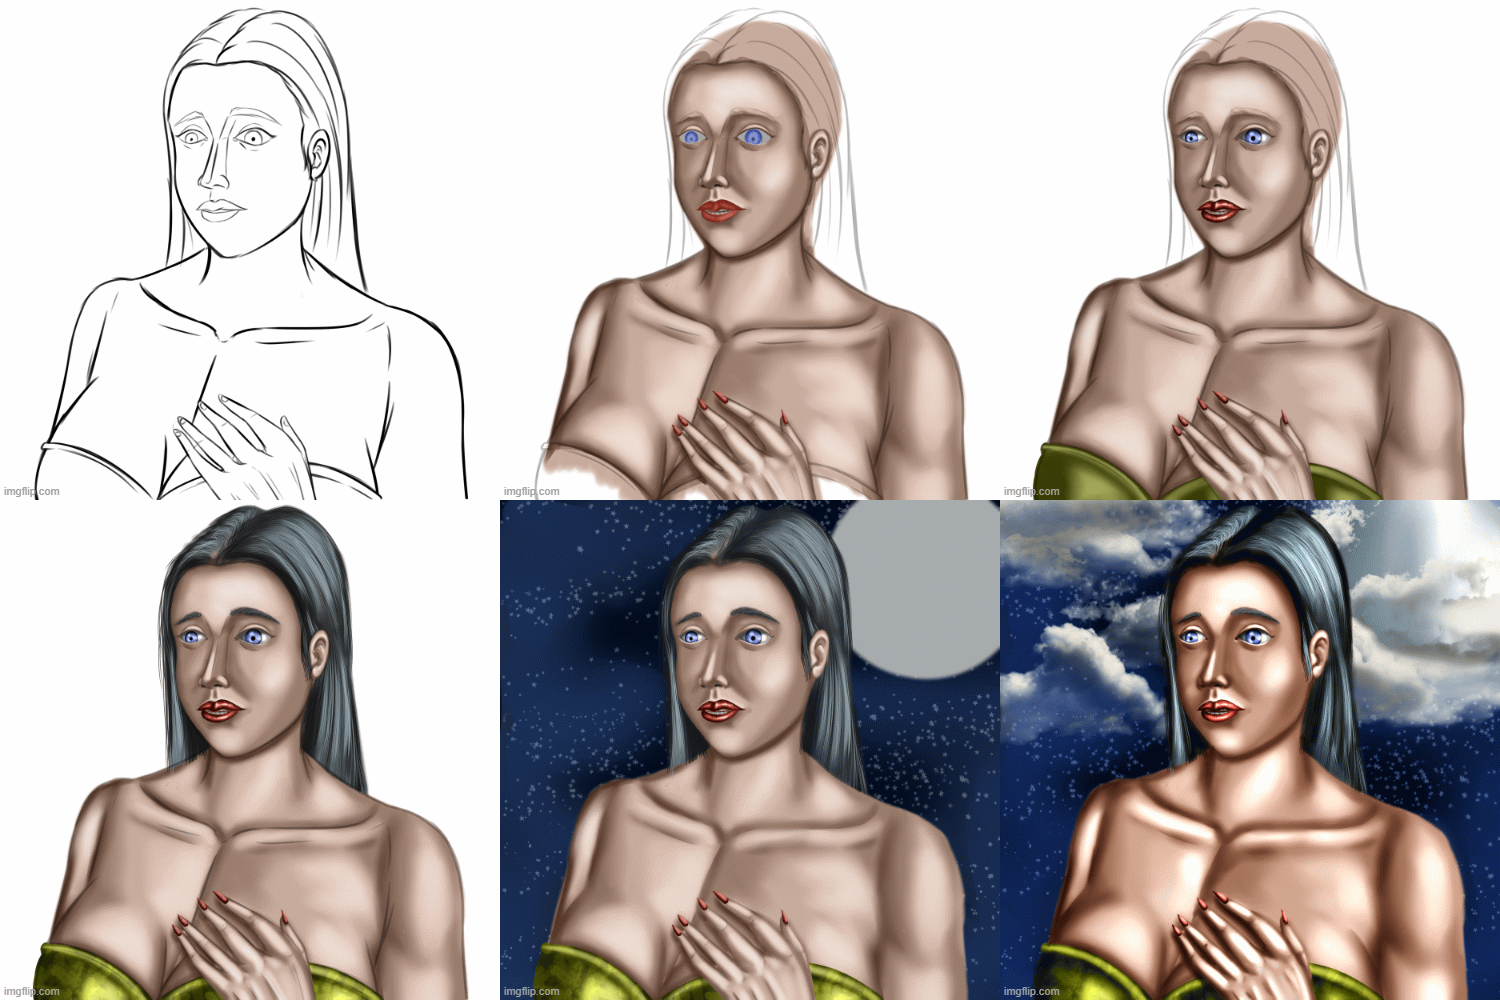
I started with this drawing with one intention and that was to create a kind of pose which would transmit Amanda's mood to perfection, something like a pose or sketch structure in which she would be somewhat shocked or surprised, but at the same time her eyes and gaze would reflect the happiness of being reunited with her greatest love and I think that after a long time I achieved it. Once I had finished with the creation of the sketch for which I took about 20 minutes, I continued with the painting of the character layer by layer; for the skin this time I used a reddish pastel tone as a base and then little by little I worked on the volume.
Inicie con este dibujo con una intensión y fue la de crear una especie de pose la cual transmitiera una el estado de animo de Amanda a la perfección, algo así como una pose o estructura de bocetado en la cual se mostrará algo impactada o sorprendida, pero que al mismo tiempo se reflejara en sus ojos y su mirada la felicidad por reencontrarse con su más grande amor y creo que después de un buen rato lo conseguí. Ya una vez había finalidad con la creación del boceto para el cual me tome unos 20 minutos allí si continúe con el pintado capa por capa del personaje; para la piel esta vez use tono de pastel rojizo como base y luego poco a poco fui trabajando en el volumen.
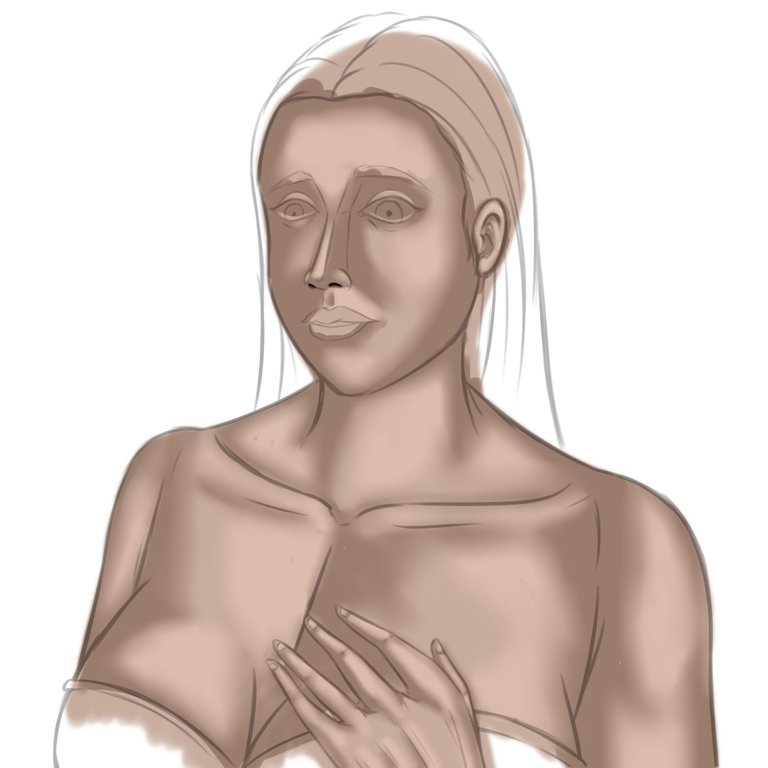
Getting the right volume was a little difficult as I had to give depth to the left area a little more than the right because the sketch is like a half profile. Once I achieved what I wanted with the layer modes and the blurred brush the next part of the process was the creation of the eyes, this was one of the most important parts of my work because I focused on making Amanda's eyes very striking and that's why I used shades of bright blue as a base for the eyes and then with some more dedicated brushes I created the specific details of the eyes as I had planned in the beginning: after finishing with the eyes I continued with the lips, for them I used shades of intense red to work the volume on them and then I used shades of white to get the shine.
Conseguir el volumen adecuado fue un poco difícil pues debía darle profundidad a la zona izquierda un poco más que a la derecha debido a que el boceto es como de medio perfil. Una vez logrado lo que querida con los modos de capa y el pincel difuminado lo siguiente en el proceso fue la creación de los ojos, esta fue una de las partes más importante de mi obra pues me centre en que los ojos de Amanda fueran muy llamativos y fue por ello que use tonos de azul brillante como base para los ojos y luego con algunos pinceles más dedicados fui creando los detalles específicos de ojos como había planeado en un inicio: luego de terminar con los ojos seguí con los labios, para ellos use tonos de rojo intensos para ir trabajando el volumen en ellos y luego use tonos de blanco para conseguir brillo.
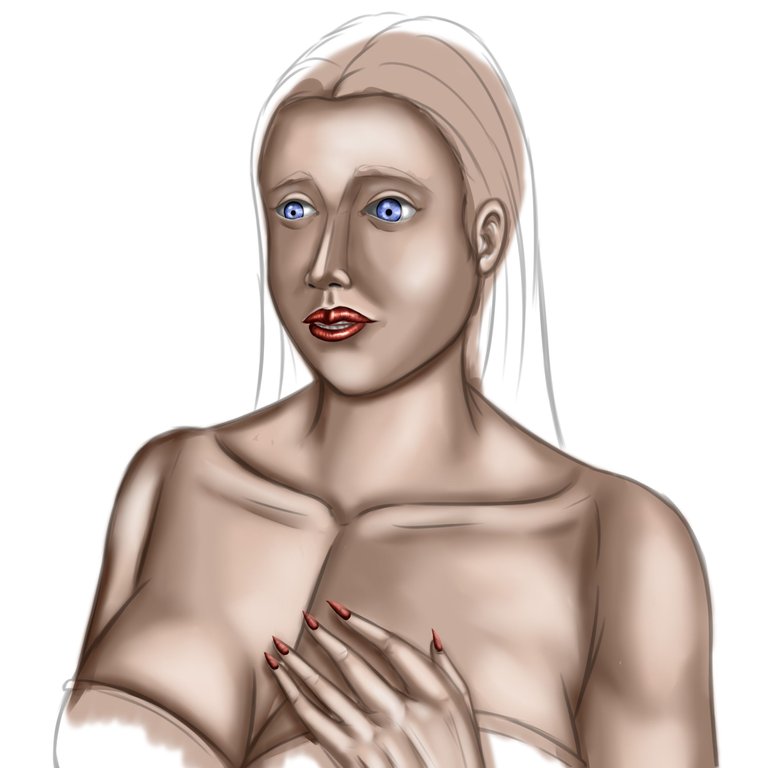
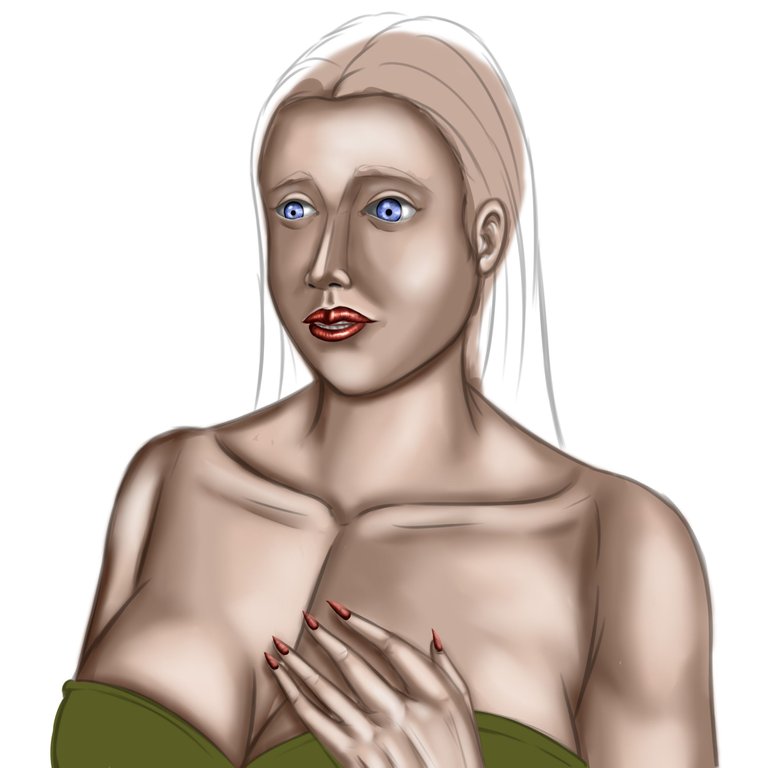
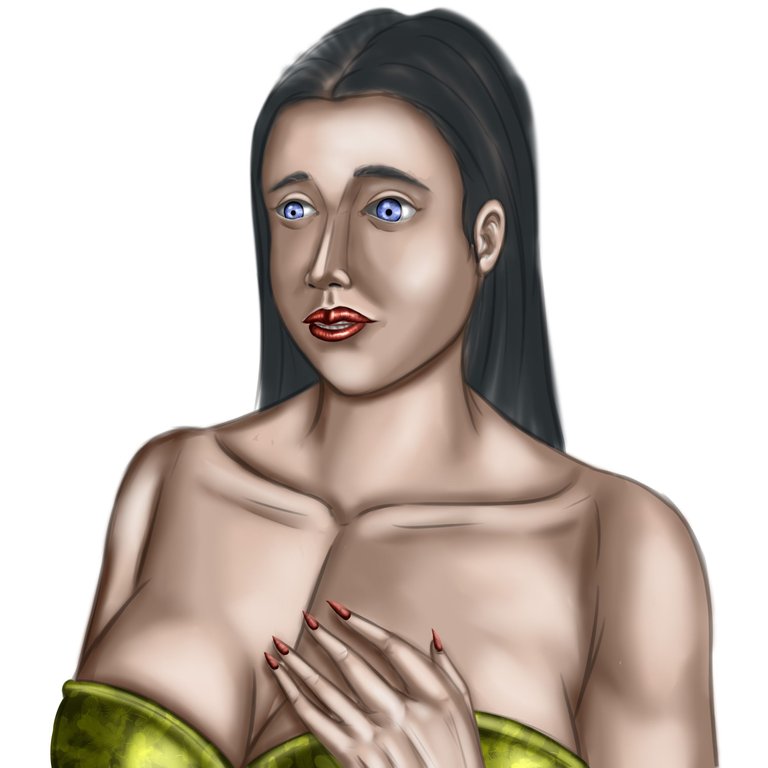
Finishing with the details of Amanda's body the next thing in the process was the creation of the dress, in this case I dedicated myself to create a very elegant dress with a striking neckline, to create the dress I used a pasty green color, then in new layers was creating a little volume to start; after having a solid base I created a last layer to add a kind of texture of bird feathers in a scattered way. Once Amanda's outfit was finished the next thing was the hair and for this section I decided to use different colors, this time I used a dark blue tone as a base and then with stronger and stronger blues I created the hair, combing it backwards with long and thin strands in ascending colors.
Terminando con los detalles del cuerpo de Amanda lo siguiente en el proceso fue la creación de la vestimenta, en este caso me dedique a crear un vestido bastante elegante con un escote llamativo, para crear el vestido emplee un color verde pastoso, luego en nuevas capas fue creando un poco de volumen para iniciar; luego de tener una base sólida cree una última capa para agregar una especie de textura de plumas de ave en forma dispersa. Una vez terminado el atuendo de Amanda lo siguiente fue el cabello y para este apartado decidí usar colores algo diferentes, esta vez usé un tono azul bastante oscuro como base y luego con azules más y más fuertes fui creando el pelo, con forma de peinado hacia atrás con mechones largos y delgados en colores ascendentes.
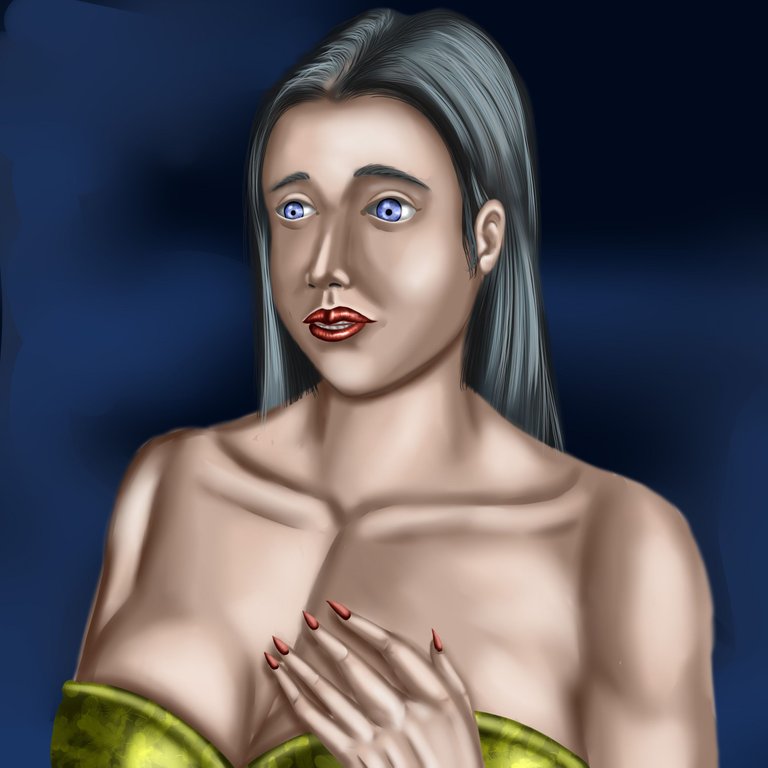
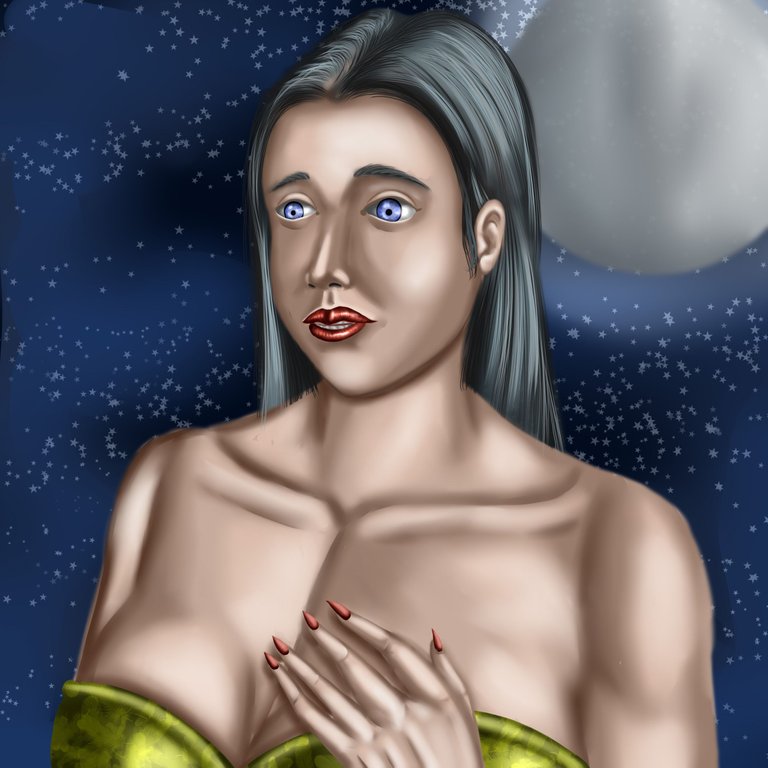
For the final part what I did was to try to represent a cloudy night as I had planned in the beginning, first I established a base of navy blue color to then add colors, with rough and scattered brushes I was detailing little by little the deep night to then create the moon and the stars in the sky; once I established a little where the moon would go the next thing I did was to create some clouds in size variation, once I finished with the clouds I was using the layer mode (Multiply) to give better shape to the clouds and texture. Already having finished with what would be all the scenery of the open night I felt that it lacked a final touch to everything, that's why I decided to create a last layer in (Bright) mode to give the last complementary touch to the work.
Ya para la parte final lo que hice fue tratar de representar una noche nublosas como había planeado en un principio, primero establecí una base de color azul marino para luego ir añadiendo colores, con pinceles rugosos y dispersos fui detallando poco a poco la profunda noche para luego ir creando la luna y las estrellas en el cielo; una vez establecí un poco donde iría la luna lo siguiente que hice fue crear algunas nubes en variación de tamaño, una vez termine con las nubes fui usando el modo de capa (Multiplicar) para ir dándole mejor forma a las nubes y textura. Ya habiendo culminado con lo que sería todo el escenario de la noche abierta me pareció que le faltaba un último toque a todo, es por ello decidí crear una última capa en modo (Bright) para darle el ultimo toque de complementario a la obra.
MATERIALS / MATERIALES
- Sai Paint Tool Program
- Huion inspiroy h610 v2 tablet
- Programa Paint Tool Sai
- Tableta Huion inspiroy h610 v2
Well dear readers, this has been all for today's post, thank you very much once again for coming here and especially for seeing the process of my drawing, I hope you liked it a lot and if so let me know in the comment box and there I will read it with pleasure; Without more to say I say goodbye my people, I wish you a great weekend and send you all a strong greeting... Until a next drawing!!!
Bueno queridos lectores, esto ha sido todo por el post del día de hoy, muchas gracias una vez más por llegar hasta aquí y sobre todo por ver el proceso de mi dibujo, espero que les haya gustado mucho y de ser así háganmelo saber en la caja de comentario y por allí los leeré con mucho gusto; Sin más que decir me despido mi gente, les deseo un gran fin de semana y les mando un fuerte saludo a todos… ¡Hasta un próximo dibujo!!
¡Te quedó precioso el dibujo! Adoro la expresividad en el personaje y la historia que tiene.
Excelente post, ¡gracias por compartir!
Muchas gracias :D es bueno saber cuando mi trabajo agrada, un saludo.
¡Enhorabuena!
✅ Has hecho un trabajo de calidad, por lo cual tu publicación ha sido valorada y ha recibido el apoyo de parte de CHESS BROTHERS ♔ 💪
♟ Te invitamos a usar nuestra etiqueta #chessbrothers y a que aprendas más sobre nosotros.
♟♟ También puedes contactarnos en nuestro servidor de Discord y promocionar allí tus publicaciones.
♟♟♟ Considera unirte a nuestro trail de curación para que trabajemos en equipo y recibas recompensas automáticamente.
♞♟ Echa un vistazo a nuestra cuenta @chessbrotherspro para que te informes sobre el proceso de curación llevado a diario por nuestro equipo.
Cordialmente
El equipo de CHESS BROTHERS
Your content has been voted as a part of Encouragement program. Keep up the good work!
Use Ecency daily to boost your growth on platform!
Support Ecency
Vote for new Proposal
Delegate HP and earn more
Poco a poco iras mejorando mi pana! Espero poder ver siempre un poco mas de tu arte. Felicidades!
Muchas gracias bro, eso espero yo también que con el tiempo alcance el nivel que me he prepuesto desde que comencé en el arte digital; un saludo