Guía #1 de Dying Light 2 {esp-eng}

Hola amigos de @GeekZone es mi primera publicación y queria compartir con ustedes la guía segun valla avanzando de un videojuego que es sin duda unos de mi favorito
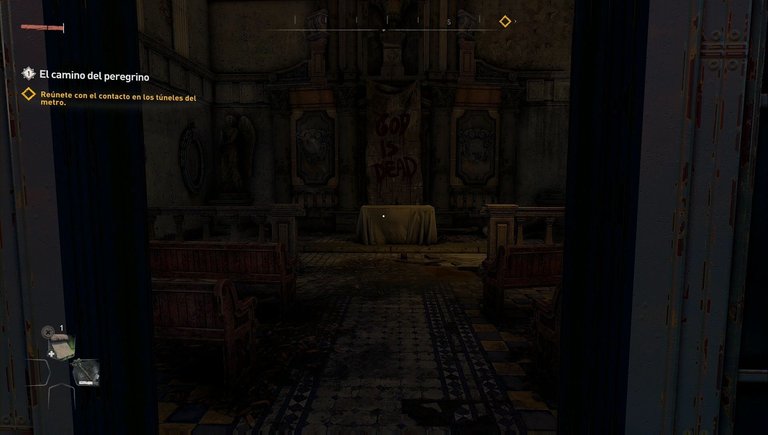
La historia de Dying Light 2 comienza con El camino del peregrino, donde conoceremos a Aiden, nuestro protagonista. Por supuesto, esta primera misión servirá de tutorial para hacernos a los controles. Sigue los indicadores para aprender a moverte y saltar, hasta llegar a tu aliado

Ve tras él por los senderos mientras habláis. Al poco, tu compañero te enseñará a recolectar objetos de la naturaleza. Reúne la miel y manzanilla de los alrededores para poder continuar.
Tras recoger los objetos, regresa con Spike. Te enseñará a combinar objetos para crear una medicina para curar tus heridas. Sigue tras Spike y revisa el patio. Podrás entrar agachándote frente a la puerta del garaje que hay hacia la derecha de la puerta principal. Una vez dentro de la casa, ve usando el instinto de supervivencia para recoger objetos, todos los que veas a mano. Si no está clavado al suelo, ahora es tuyo.
Sobre la mesa del fondo de la cocina, a la derecha de la columna, encontrarás el Artículo de periódico 11 de octubre de 2022
Verás una secuencia al abrir la puerta del fondo. Investiga la habitación para recoger unos objetos y sigue tras Spike. En la próxima sala tenemos un par de objetos a investigar
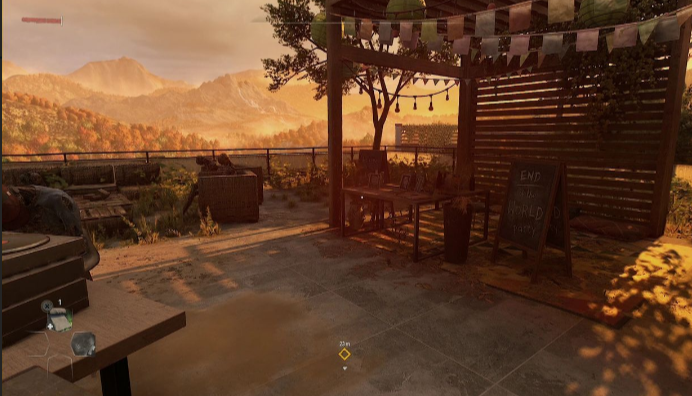
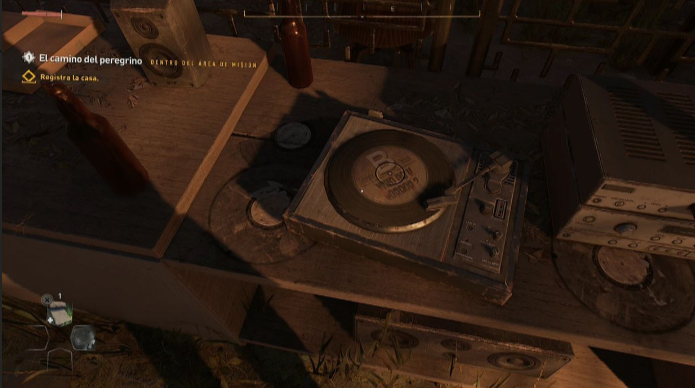
Ve visitando cada cuarto y recoge más objetos, para luego acercarte a tu aliado junto al piano. Abre lapuerta a su lado para llegar a una especie de bar en una terraza. Usa el instinto para localizar un par de objetos (marcados en rojo y con una lupa, como antes). Uno de ellos es la Carta Carta de despedida.

Tras leerla, Spike te dirá que subas con él. Al hablar te entregará un arma (una tubería de hierro, tampoco te vengas arriba, matazombis). Durante la conversación verás tu primera conversación con decisiones. Ten siempre presente que las opciones en blanco son conversaciones secundarias, las amarillas hacen avanzar la historia.
Por ahora responde lo que quieras, no hay más de una ruta a seguir. Ahora tienes un Bate mugriento (un bate de mierda, vamos), con el que podrás defenderte mientras te mueves al marcador de la misión. Por ahora no contamos con mapa, y no hay nada más en la casa, así que salta el muro y ve a la torre. El objetivo te hará pasar por una tienda con bichos y objetos que recoger.
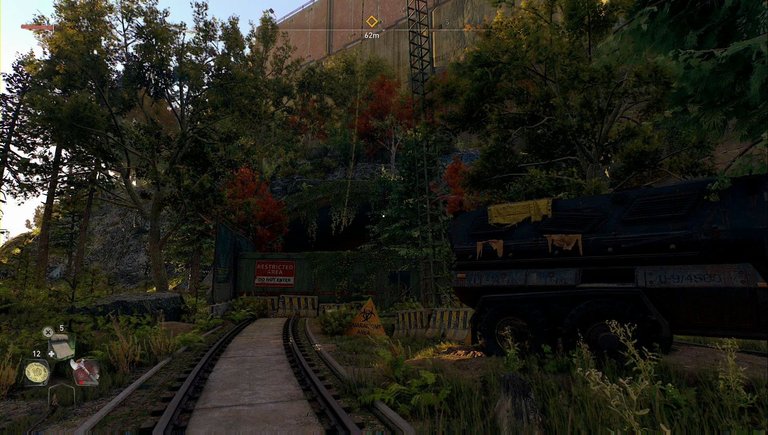
Hay un coleccionable (el grafiti de la pared exterior), pero no queremos cogerlo antes de activar el mapa, para no perdernos. El camino te llevará, después de unos cuantos saltos, a un túnel lleno de mordedores. Tú sabrás si pasas con cuidadito, o tienes ganas de fiesta, bajas y te los cargas a todos. Obviamente, llevan objetos... tú decides.
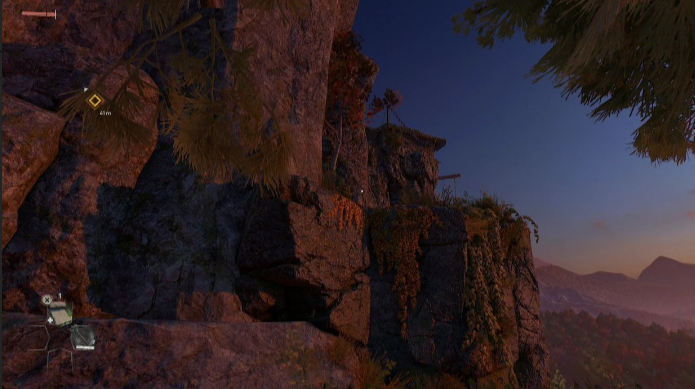
Tendrás que ir subiendo, tras salir del túnel, hasta una tirolina. Aunque parezca que te alejas del objetivo, no lo harás, úsala para avanzar. Tras cruzar una cueva y aprender a dar patadas para tirar a zombis desde puntos altos, sigue subiendo por el saliente con hiedras.
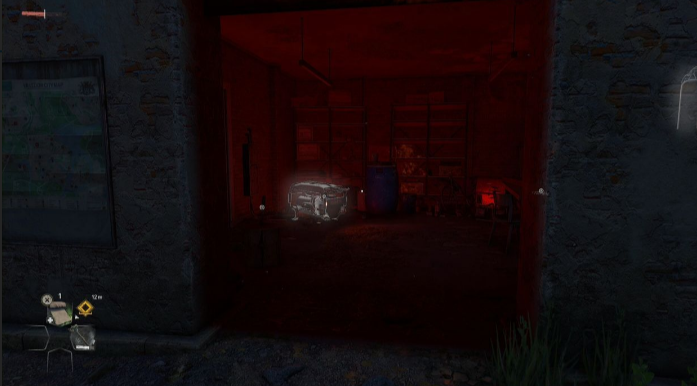
Deberías ver cómo sube tu nivel de parkour. Tendrás que desbloquear, de manera obligatoria, el Salto de altura, para usarlo y avanzar desde la plataforma en la que te encuentras. Cuando llegues al edificio, intenta abrir el garaje a la derecha. Verás una secuencia y tendrás que enfrentarte a varios mordedores y un saltador, un subtipo de zombi normal que es más rápido y salta sobre sus congéneres para atacarte. Esquiva a los lados y acaba con todos.
Cuando termines podrás abrir la persiana del garaje.
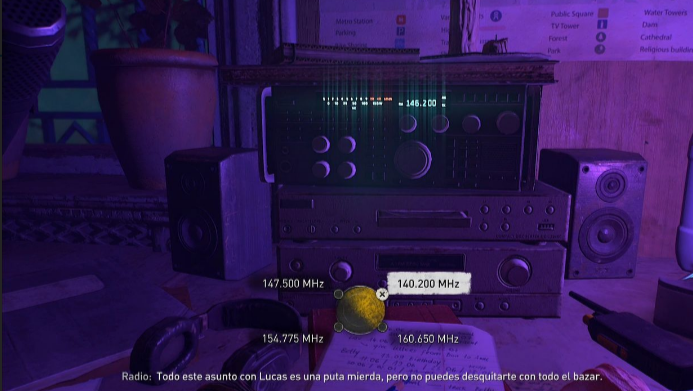
Dentro hay un generador que vamos a activar y algunos objetos. Ahora, entra al edificio y ve subiendo mientras saqueas cada estancia. Usando el instinto de supervivencia, localiza las huellas que te llevan hasta un armario que debes mover para poder avanzar. Llegarás a la primera zona segura. Usa la radio del fondo y pon la frecuencia 140.200.
No habrá respuesta, así que prueba otras frecuencias si quieres, o vete a dormir antes de usar la radio de nuevo. Puedes repetir el tema de frecuencias o ir directamente a 140.200, la correcta. Una vez tengas libertad, sigue el marcador y baja en tirolina. Estarás frente a un edificio, entra y recoge el Paraíso Perdido, libro IV
En la zona de vehículos que hay al avanzar no verás nada, pero puedes saltar al lago desde un coche y revisar el autobús hundido para encontrar suministros. Sigue hacia el marcador y escucharás una conversación de radio. Hay mordedores y objetos por la zona, tú sabrás si te detienes a recoger cosas. Al menos por ahora, no te recomendamos desvíos para abastecerte. Déjalo para más adelante.
Tras atravesar la estación de metro, llegarás a un punto con una cuerda, después de saltar a un vagón que se balancea. La idea es subirte a la plataforma derecha (marcada con un trozo de tela amarillo), saltar a la cuerda, balancearte y pasar sobre la valla hasta la entrada del túnel, evidentemente.
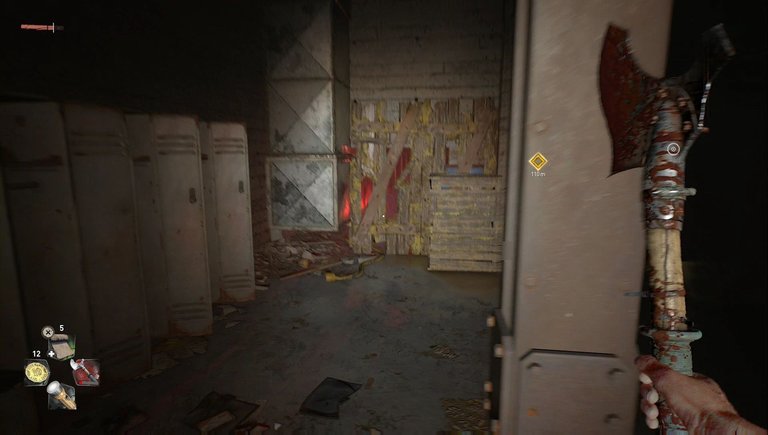
Los túneles serán seguros, no te preocupes. Avanza hasta ver una secuencia, solamente hay un camino posible y no hay objetos. Cuando recuperes el control de Aiden, fíjate en que ahora puedes usar una linterna. Ve al fondo del pasillo y rompe los tablones del lado izquierdo para poder avanzar.
En el siguiente pasillo te enseñarán a usar barras horizontales para balancearte y cruzar abismos. Tendrás que hacerlo un par de veces (la segunda, en saltos encadenados con barras) hasta la siguiente puerta. Estará cerrada, entra por el conducto de ventilación que hay a su izquierda. Ve por el conducto hasta ver una secuencia.
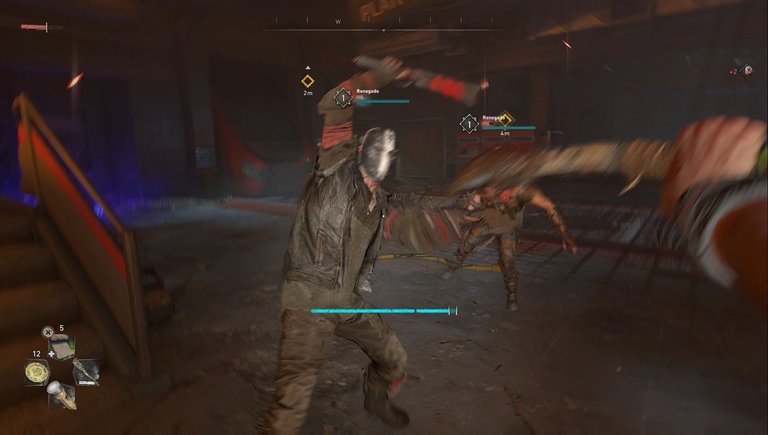
Ahora te darán el tutorial de bloqueo perfecto. Acaba con los malosos (aparecerán dos tras el primero) y registra sus cuerpos antes de ir a por el informador. También te habrán dado tu primero punto de combate, estas habilidades son para luchar con más ventaja.
Te mostrarán cómo funciona el combate con parkour. Derrota a dos oleadas de enemigos y luego habla de nuevo con el informador para ponerte en marcha. ¡Toca correr! Pese a que tu instinto te pueda decir lo contrario, no saltes cuando te estés deslizando. En el agua, bucea a través del vagón y ve siguiendo el marcador de misión, no puedes perderte. Continúa hasta unas escaleras que te permitirán salir del subterráneo
Y con esto termina la primera misión del juego, sinceramente yo la difrute bastente a pesar de que era casi como un tutorial, per bueno segun valla avanzando en el juego les compartire guias de las siguientes misiones. Si les gusta apoyen y digan en los comentarios cual es su opinión sobre el juego, un abrazo

Las imagenes del juego fueron sacadas de mi PS4
La foto de la portada fue tomada de google
Los gif se crearon en una pagina llamada blog gif
La traducción al inglés fue en traductor de Google

Hello friends of @GeekZone, this is my first post and I wanted to share with you the guide as you progress of a video game that is undoubtedly one of my favorites
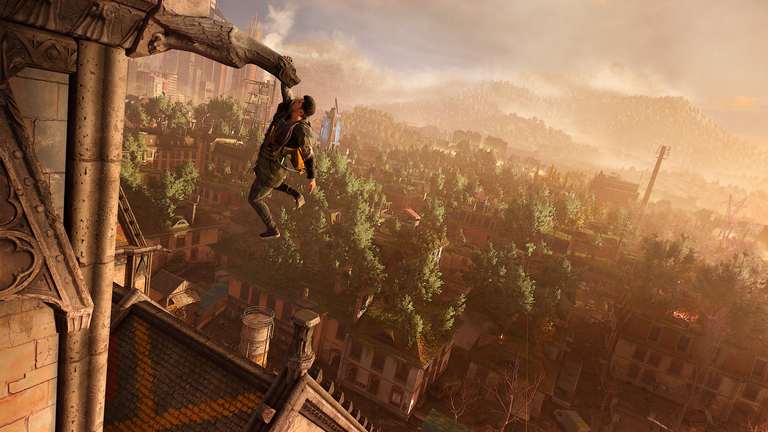
The story of Dying Light 2 begins with The Pilgrim's Path, where we will meet Aiden, our protagonist. Of course, this first mission will serve as a tutorial to get used to the controls. Follow the signs to learn how to move and jump, until you reach your ally
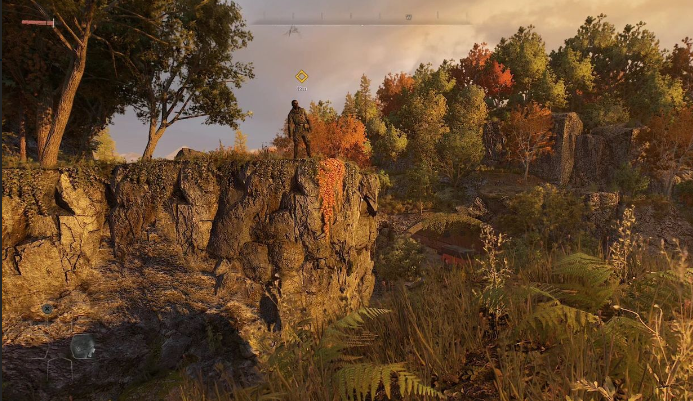
Follow him along the paths while talking. After a while, your companion will teach you how to gather items from nature. Gather honey and chamomile from the surroundings to be able to continue.
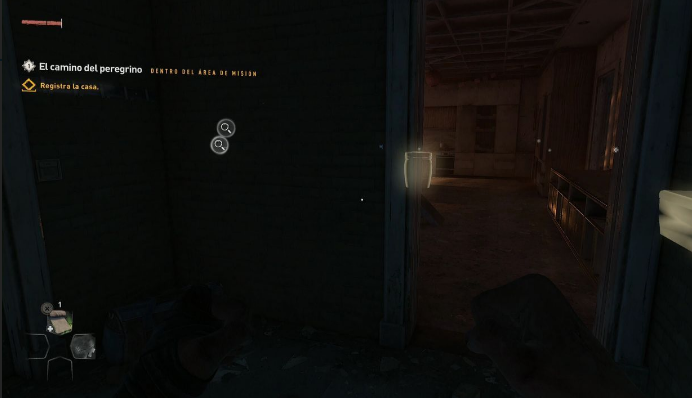
After collecting the items, return to Spike. He will teach you how to combine items to create a medicine to heal your wounds. Follow Spike and check the courtyard. You can enter by crouching in front of the garage door to the right of the front door. Once inside the house, use your survival instinct to pick up any items you see at hand. If it's not nailed to the ground, it's now yours.
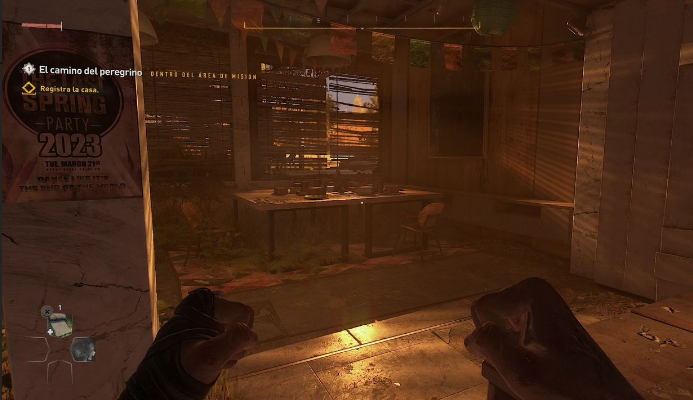
On the table at the back of the kitchen, to the right of the column, you'll find the Newspaper Article October 11, 2022
You'll see a cutscene when you open the door at the back. Investigate the room to collect some items and continue after Spike. In the next room we have a couple of objects to investigate
Go through each room and collect more objects, then approach your ally next to the piano. Open the door next to him to reach a sort of bar on a terrace. Use instinct to locate a couple of objects (marked in red and with a magnifying glass, as before). One of them is the Farewell Letter.
After reading it, Spike will tell you to go up with him. When you talk, he will give you a weapon (an iron pipe, don't get carried away, zombie killer). During the conversation, you will see your first conversation with decisions. Always keep in mind that the white options are secondary conversations, the yellow ones advance the story.
For now, answer whatever you want, there is only one route to follow. You now have a Dirty Bat (a really crappy bat, really), which you can use to defend yourself while you move to the quest marker. We don't have a map yet, and there's nothing else in the house, so jump over the wall and head to the tower. The objective will take you past a shop with bugs and items to pick up.
There is a collectible (the graffiti on the outside wall), but we don't want to grab it before activating the map, so we don't get lost. The path will take you, after a few jumps, to a tunnel full of biters. You'll know if you go carefully, or if you're in the mood to party, go down and kill them all. Obviously, they carry items... it's up to you.
You'll have to go up after exiting the tunnel to a zipline. Even though it may seem like you're moving away from the objective, you're not, so use it to move forward. After crossing a cave and learning how to kick zombies off high points, keep going up the ledge with ivy.
You should see your parkour level go up. You will have to unlock, by obligation, the High Jump, to use it and advance from the platform you are on. When you reach the building, try to open the garage on the right. You will see a cutscene and you will have to face several biters and a jumper, a subtype of normal zombie that is faster and jumps on its peers to attack you. Dodge to the sides and kill them all.
When you finish you can open the garage shutter.
Inside there is a generator that we are going to activate and some objects. Now, enter the building and go up while looting each room. Using the survival instinct, locate the footprints that lead you to a closet that you must move in order to advance. You'll reach the first safe zone. Use the radio at the back and set the frequency to 140.200.
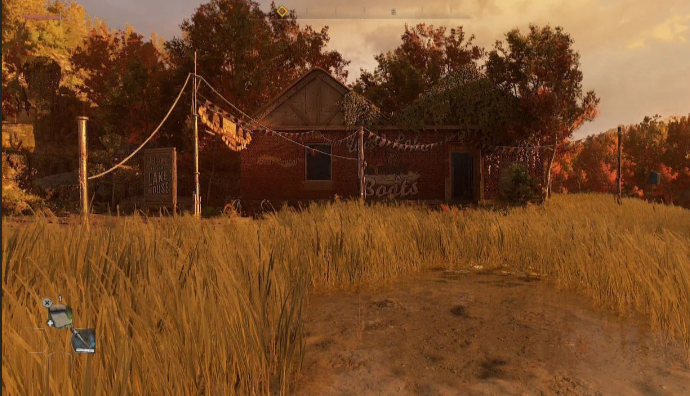
There will be no response, so try other frequencies if you want, or go to sleep before using the radio again. You can repeat the frequency thread or go straight to 140.200, the correct one. Once you're free, follow the marker and zipline down. You'll be in front of a building, go inside and pick up Paradise Lost, Book IV
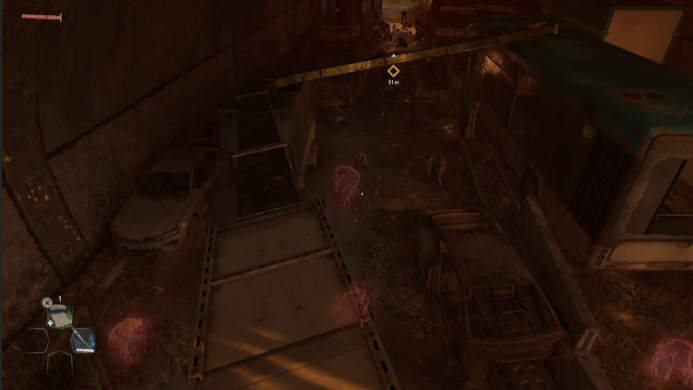
In the vehicle area as you move forward you won't see anything, but you can jump into the lake from a car and check the sunken bus for supplies. Keep going towards the marker and you'll hear a radio conversation. There are biters and items around the area, you'll know if you stop to pick things up. At least for now, we don't recommend taking detours to stock up. Leave it for later.
After going through the subway station, you'll reach a point with a rope, after jumping onto a swinging train car. The idea is to get on the right platform (marked with a yellow piece of cloth), jump onto the rope, swing and go over the fence to the entrance of the tunnel, obviously.
The tunnels will be safe, don't worry. Go forward until you see a cutscene, there is only one possible path and there are no objects. When you regain control of Aiden, notice that you can now use a flashlight. Go to the end of the hallway and break the planks on the left side to be able to advance.
In the next hallway you'll be taught how to use horizontal bars to swing across chasms. You'll need to do this a couple of times (the second time, in chained jumps with bars) until you reach the next door. It'll be closed, so go through the ventilation duct on the left. Go through the duct until you see a sequence.
Now you'll be given the perfect blocking tutorial. Take out the bad guys (two will appear after the first one) and search their bodies before going after the informant. You'll also have been given your first combat point, these skills are for fighting with more advantage.
You'll be shown how parkour combat works. Defeat two waves of enemies and then talk to the informant again to get going. Time to run! Even though your instinct may tell you otherwise, don't jump when you're sliding. In the water, dive through the car and follow the mission marker, you can't get lost. Continue to some stairs that will allow you to exit the underground
And with this the first mission of the game ends, honestly I enjoyed it quite a bit even though it was almost like a tutorial, but as I progress in the game I will share guides for the following missions. If you like it, support me and tell me in the comments what your opinion is about the game, hugs

The images of the game were taken from my PS4
The cover photo was taken from Google
The gifs were created on a page called blog gif
The translation into English was done on Google Translate
¡Enhorabuena!
✅ Has hecho un buen trabajo, por lo cual tu publicación ha sido valorada y ha recibido el apoyo de parte de CHESS BROTHERS ♔ 💪
♟ Te invitamos a usar nuestra etiqueta #chessbrothers y a que aprendas más sobre nosotros.
♟♟ También puedes contactarnos en nuestro servidor de Discord y promocionar allí tus publicaciones.
♟♟♟ Considera unirte a nuestro trail de curación para que trabajemos en equipo y recibas recompensas automáticamente.
♞♟ Echa un vistazo a nuestra cuenta @chessbrotherspro para que te informes sobre el proceso de curación llevado a diario por nuestro equipo.
🏅 Si quieres obtener ganancias con tu delegacion de HP y apoyar a nuestro proyecto, te invitamos a unirte al plan Master Investor. Aquí puedes aprender cómo hacerlo.
Cordialmente
El equipo de CHESS BROTHERS