✂️🖤Blusa estilo campesina en tela Beverly🖤✂️ //✂️🖤Peasant style blouse in Beverly fabric🖤✂️[Esp-Eng]
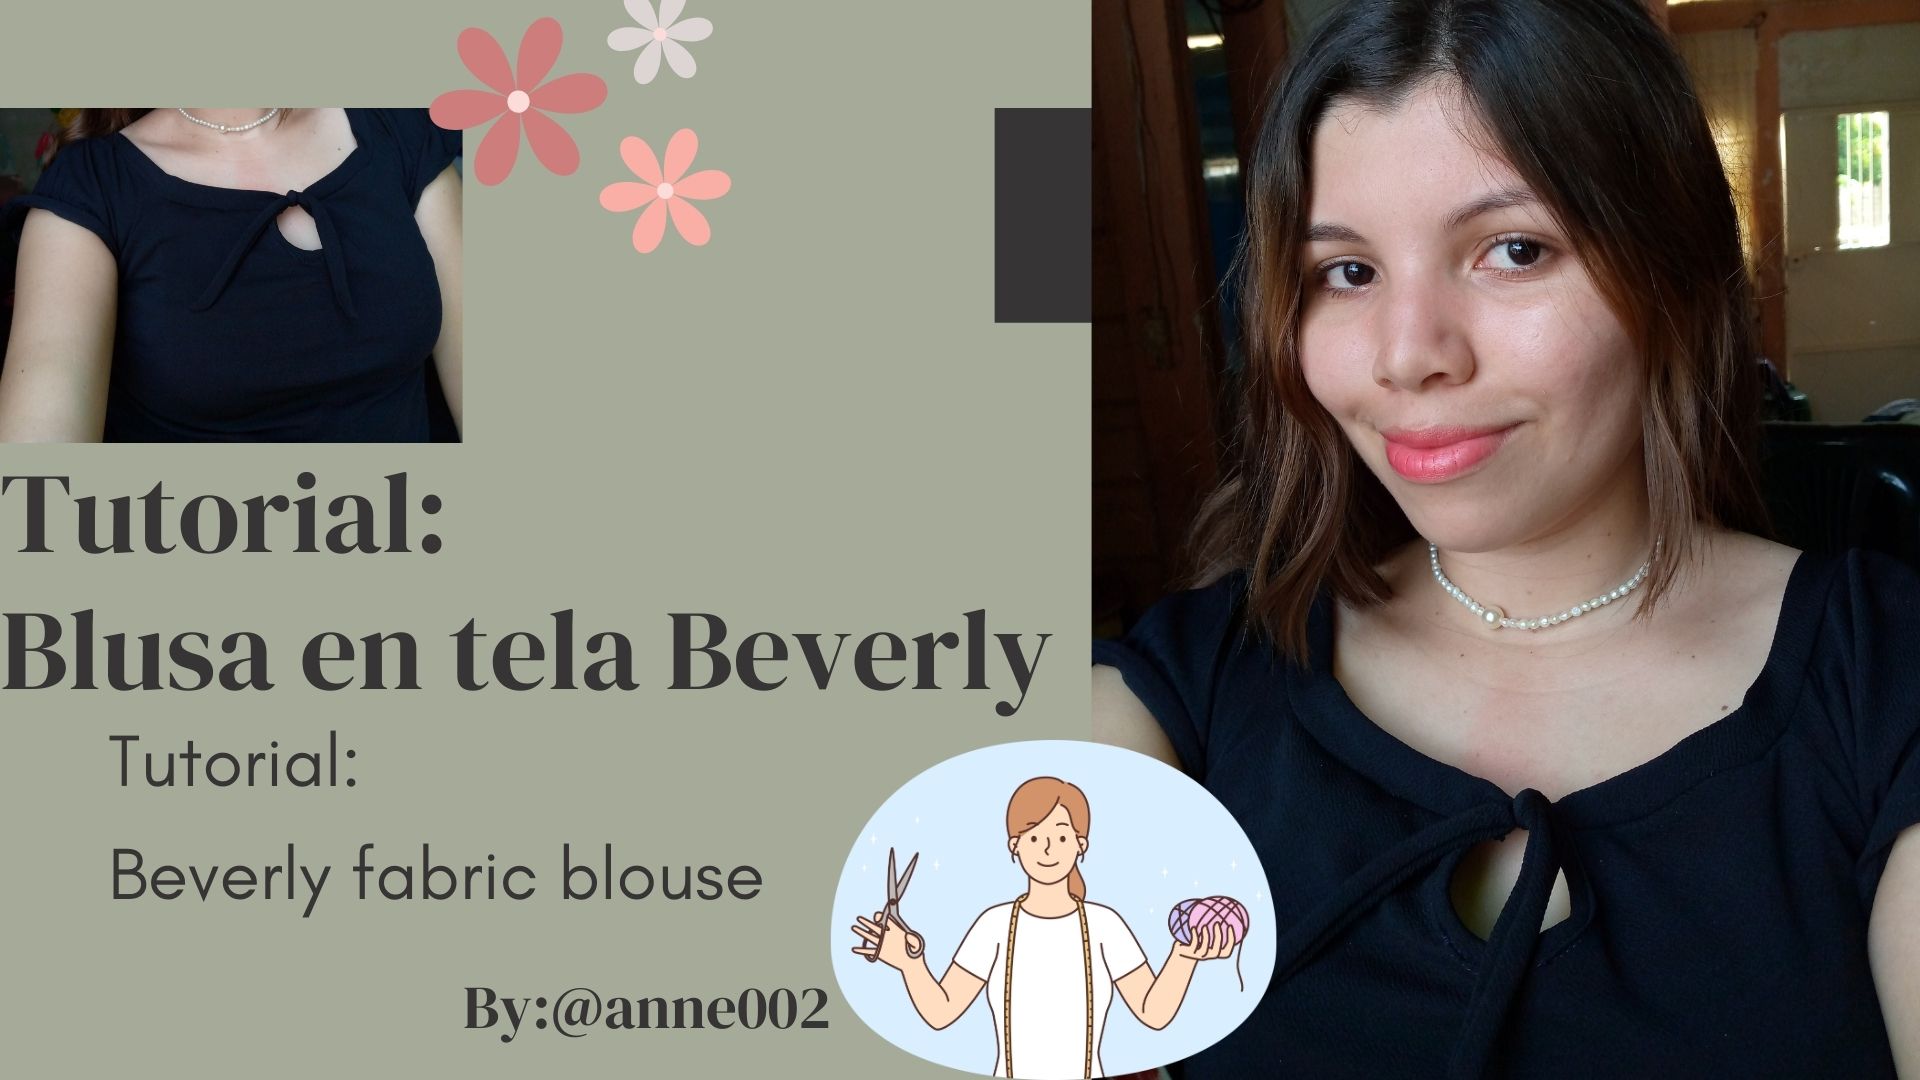
Happy and beautiful afternoon my friends, welcome to a new creative tutorial, I hope you are having a wonderful afternoon in the company of fresh air from a little rain that fell a while ago in my city, I show you today how I made this blouse in Beverly fabric I tell you my loves that I love this fabric very much, it is especially for dresses and those that are in fashion are Palazzo pants, I have several dresses in this fabric that I use to go to Sunday meetings, here I show you how I have made it in a moment now It has a peasant cut with a low collar and a knot at the front. I invite you to stay until the end of this tutorial and observe how I made this blouse from small pieces of this type of fabric.
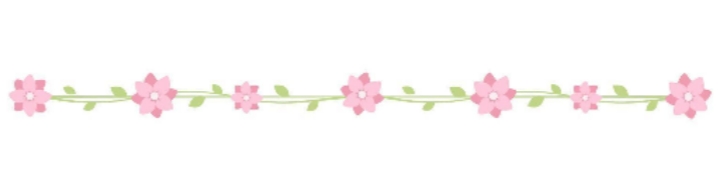
Materiales que usé :
Materials i used :
- Trozos de tela
- Alfileres
- Hilo
- Trozo de elástico
- Máquina de coser
- Pieces of cloth
- Pins
- Thread
- Piece of elastic
- Sewing machine
Pasos a seguir:
Steps to follow:
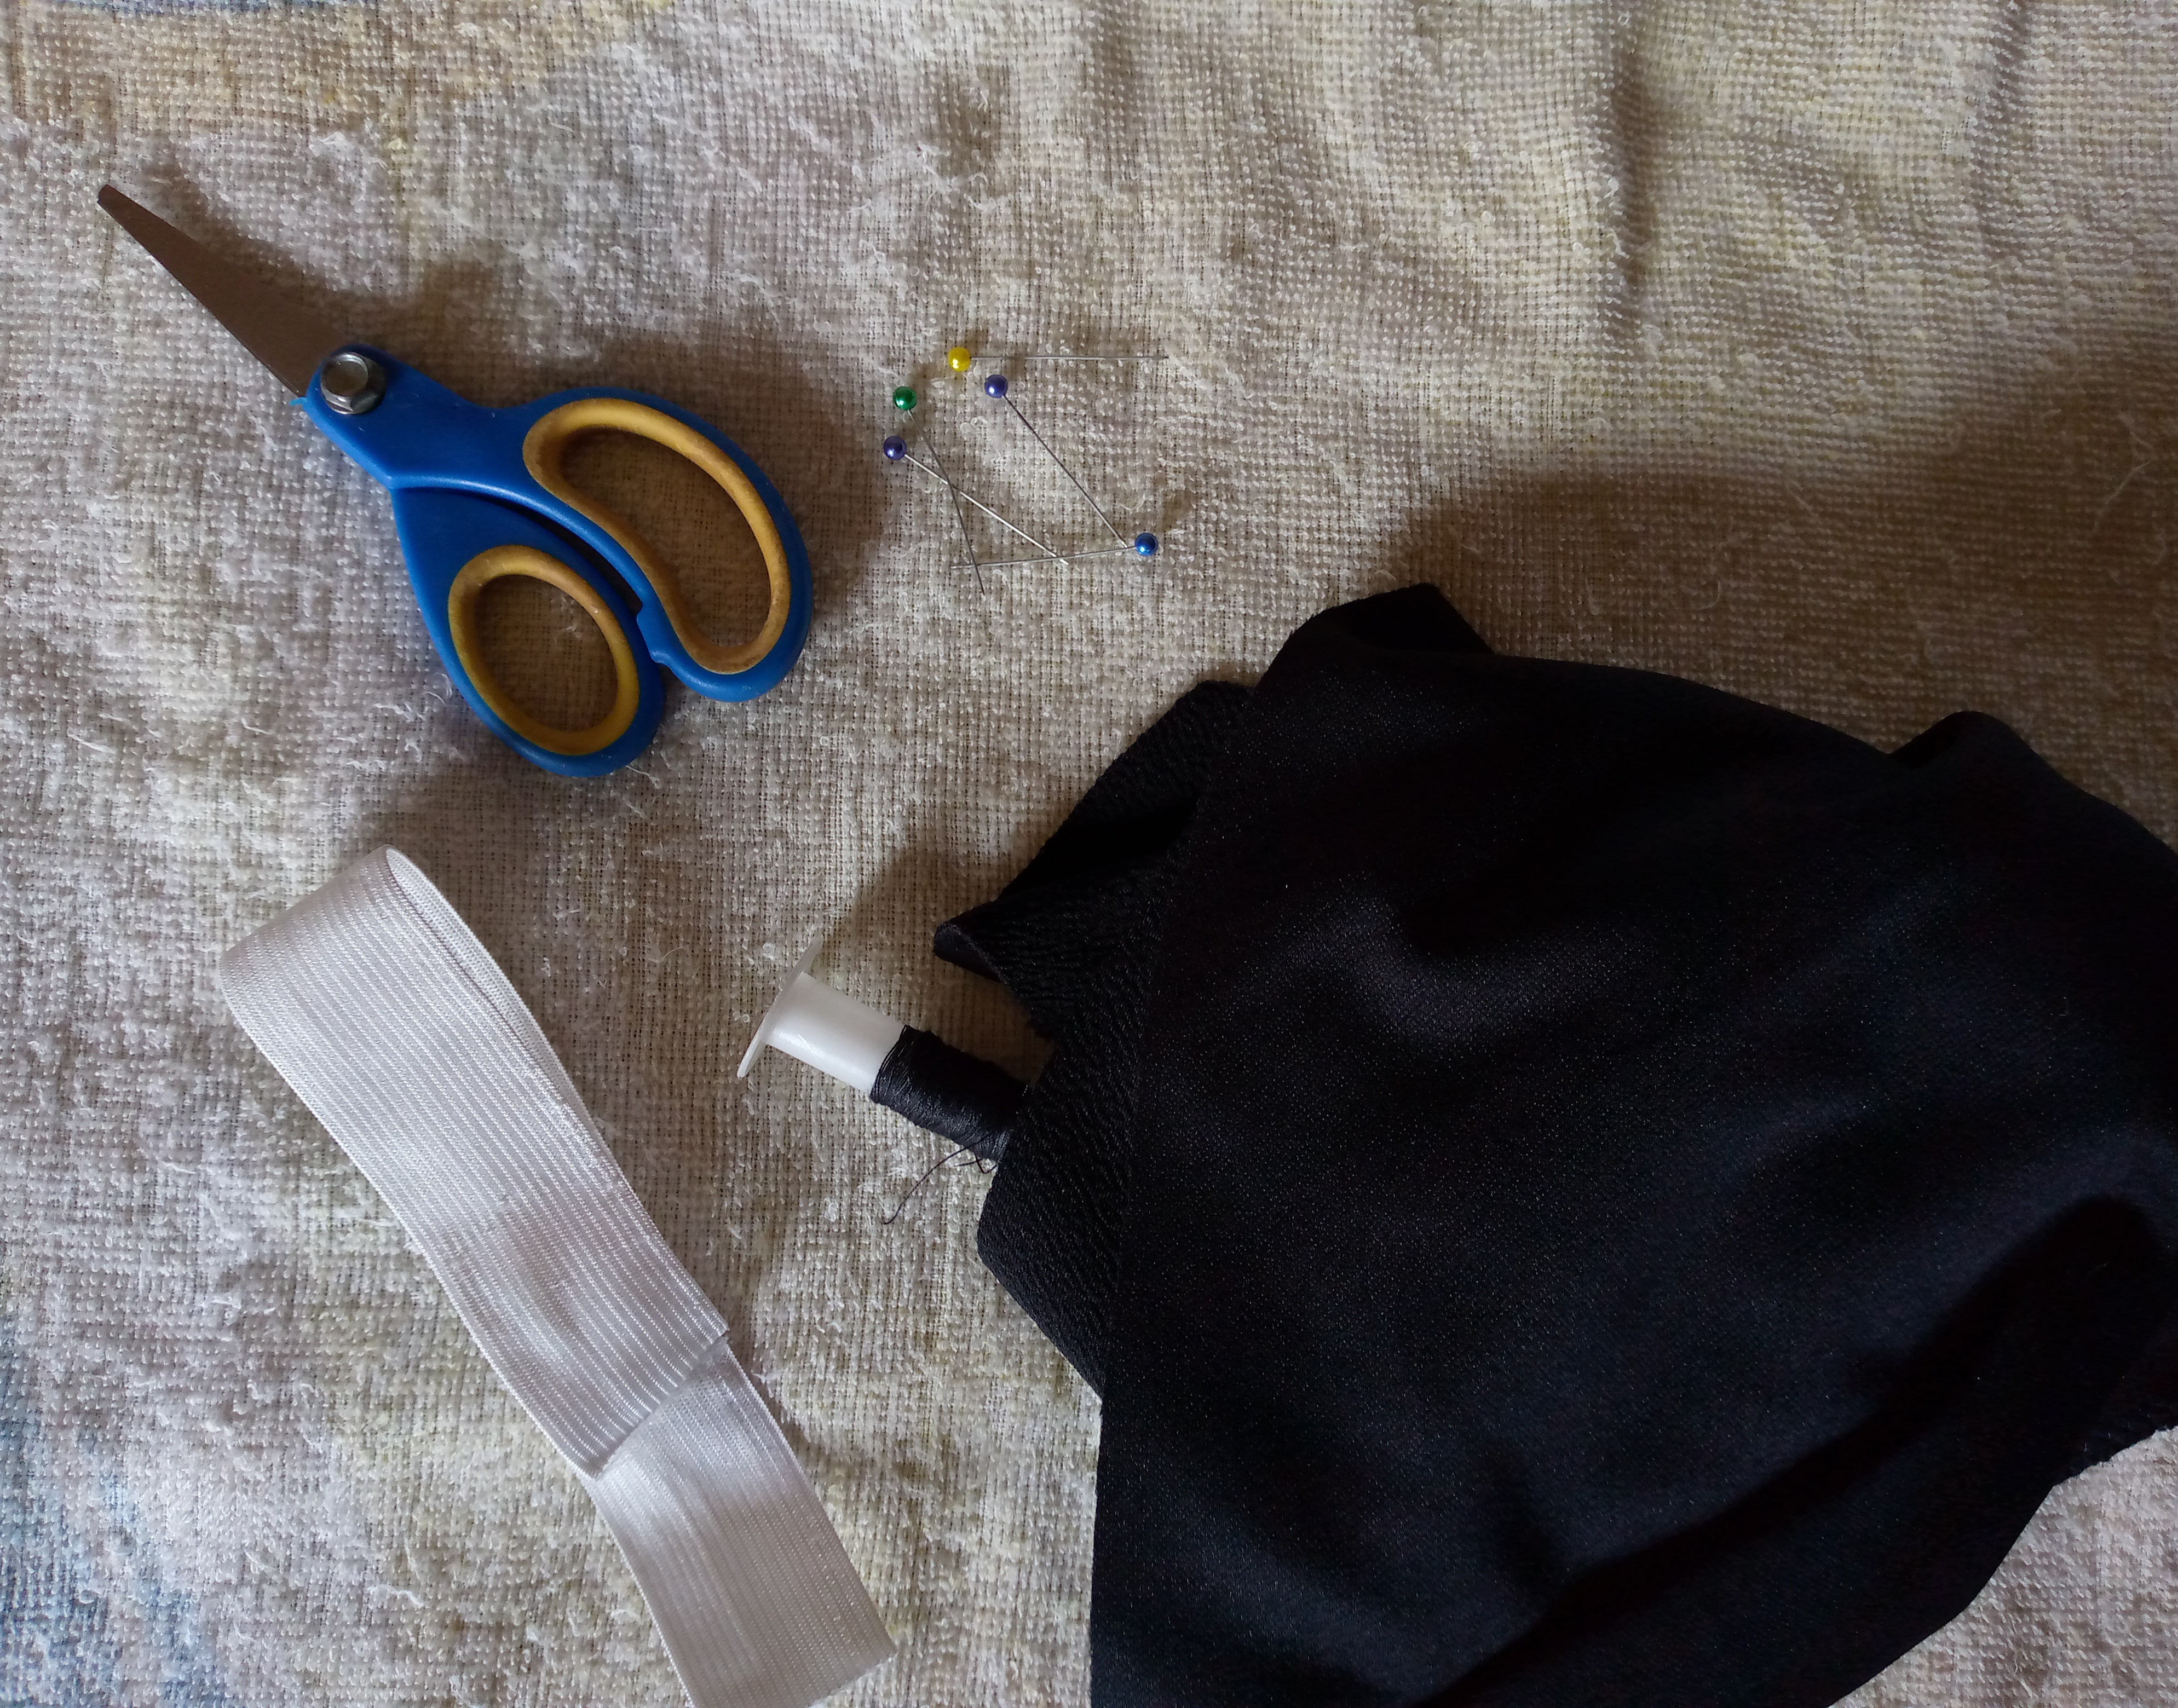
Paso 01
Step 01
I first started cutting the pieces, as this blouse is a peasant style, that is, with a low neck mentioned at the beginning, we are going to cut the low sleeves and half armholes. Also, the blouse piece is cut at half armholes to make peasant blouses. You are only going to take one piece of Cut your blouse and lower the armhole so this is a simple way to make the peasants, I proceed to cut pieces such as the straps for the waistband of the neck and shoulders which is a complete one but since it was not enough for me I used two pieces that I will later sew To tie it so I have one left, I cut a piece or rectangle of fabric that I will use as a bias for the hole in the front of the blouse. In the end I am going to cut the hole in the front piece of the blouse.
Paso 02
Step 02
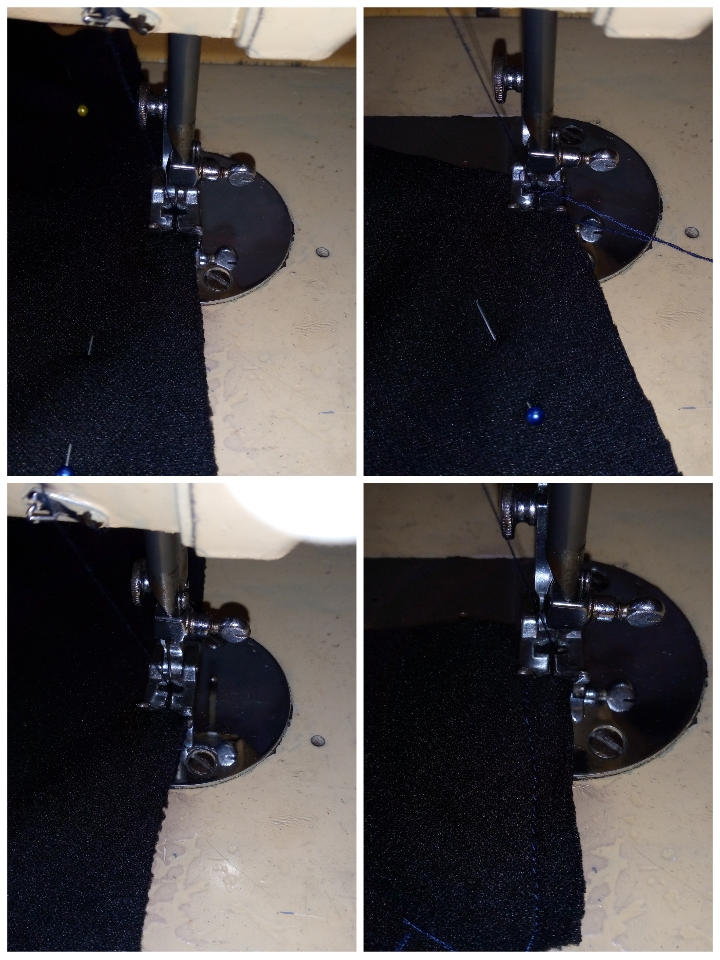
I proceed to sew the pieces of my blouse and sew the sleeves to the armhole, always remember to finish with a zig zag seam.
Paso 03
Step 03
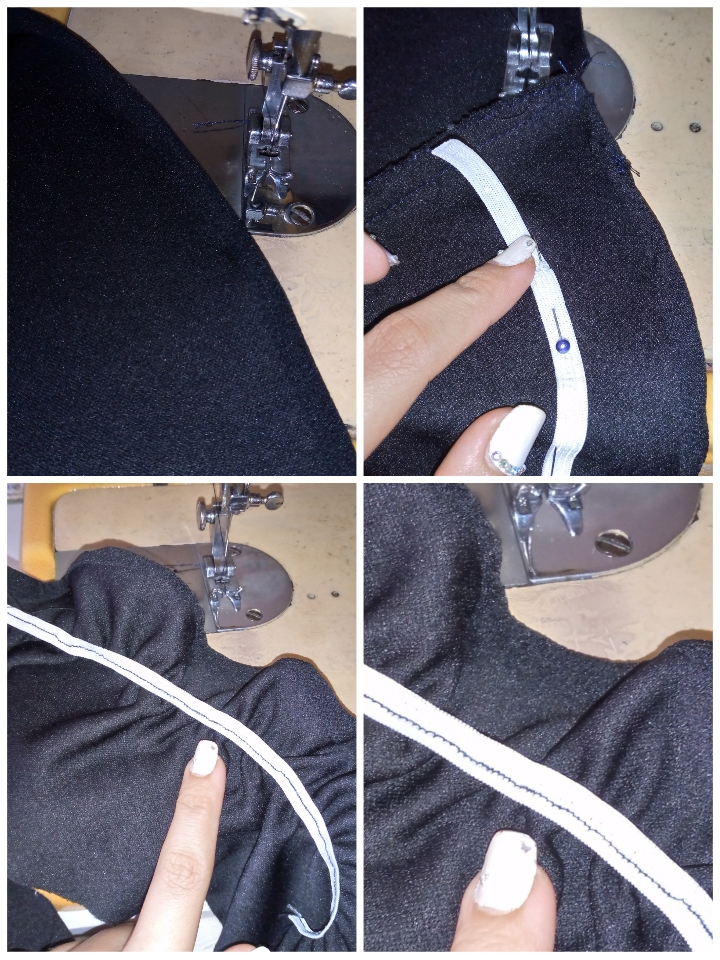
I move on to the next step, which is to sew the hem of the sleeve at the edge and sew the elastic. We are going to sew it 3 cm inwards, we use pins to hold it and we sew with a straight seam, stretching when sewing.
Paso 04
Step 04
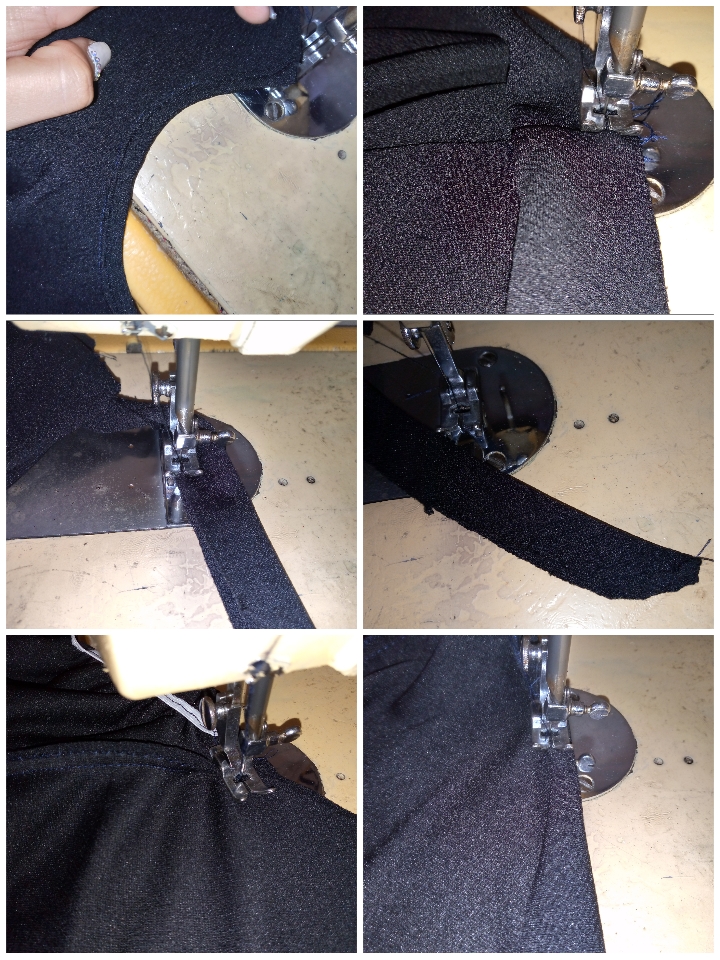
And simply to finish we are going to sew the small rectangle that is the bias of the little hole that we made in the front piece of the blouse, I will now sew the waistband of the blouse in the shoulder part, remember to sew the parts that envelope of the waistband or strip, which is what we will use to make the knot, we turn it over and sew it to the top part of the blouse, then very easily I move on to sewing the sides of the blouse, joining the front part with the back part, then finished with the hem down and this is how we finish.
Resultado:
Resultado:
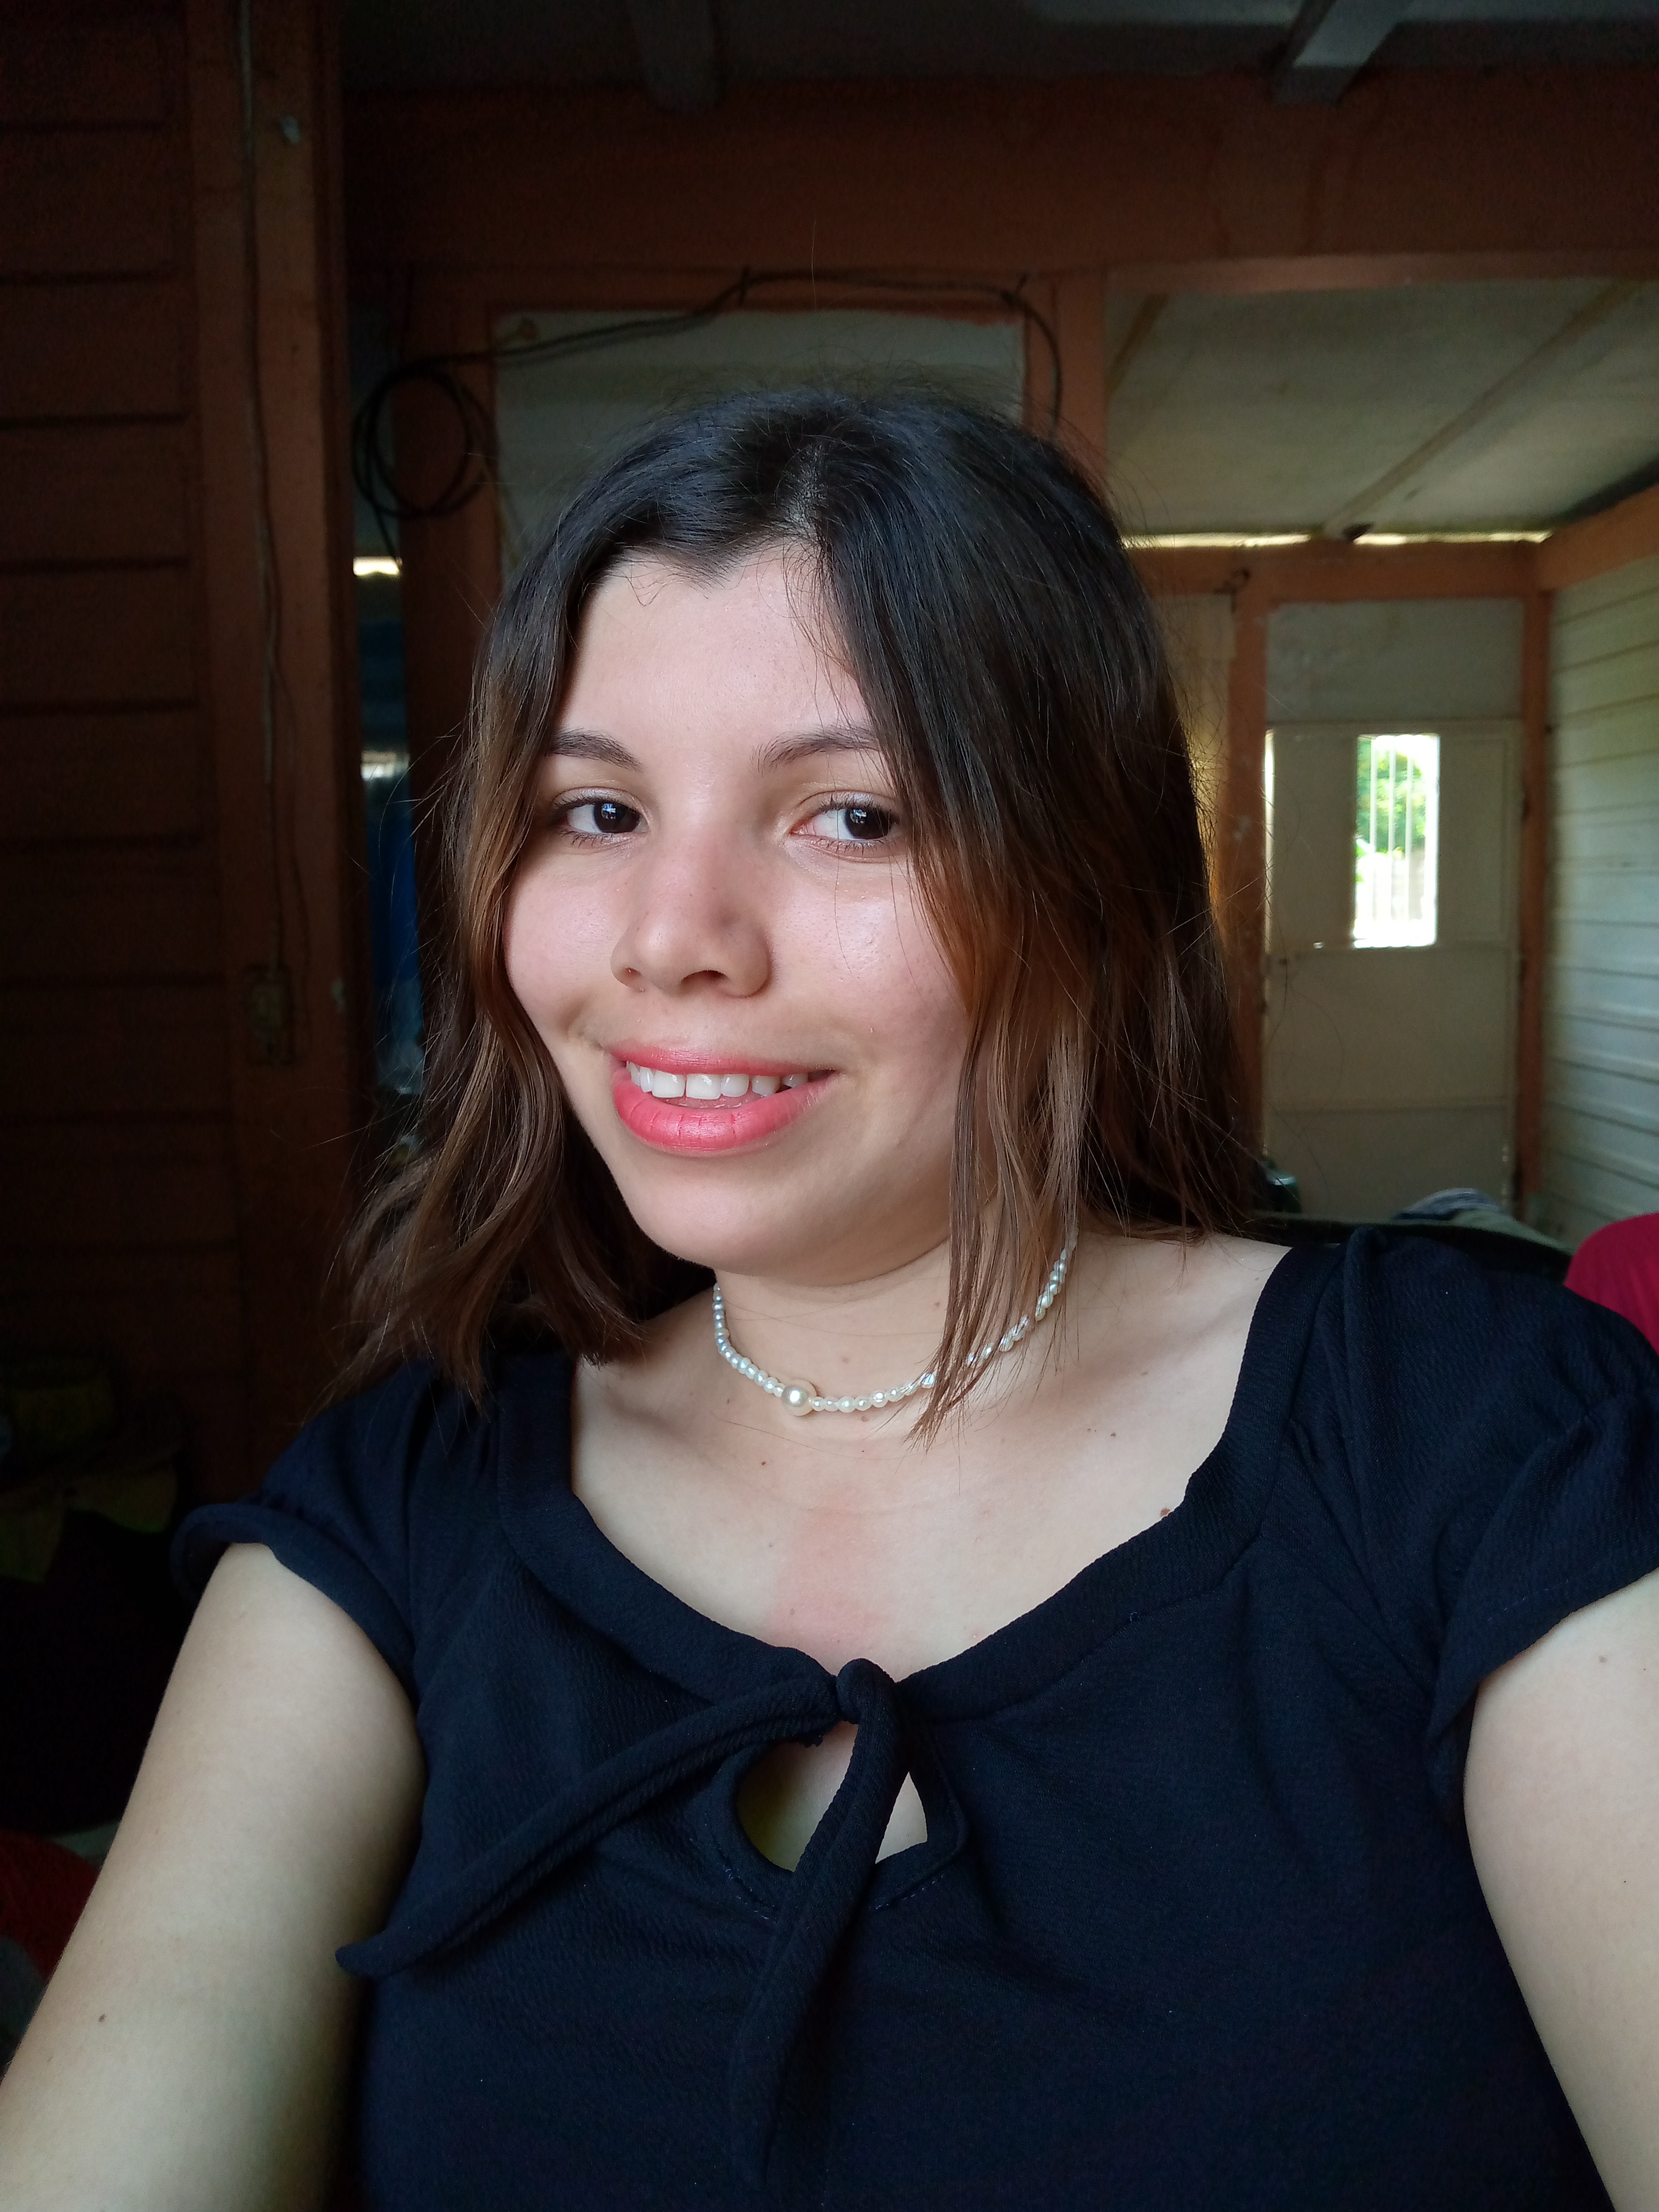
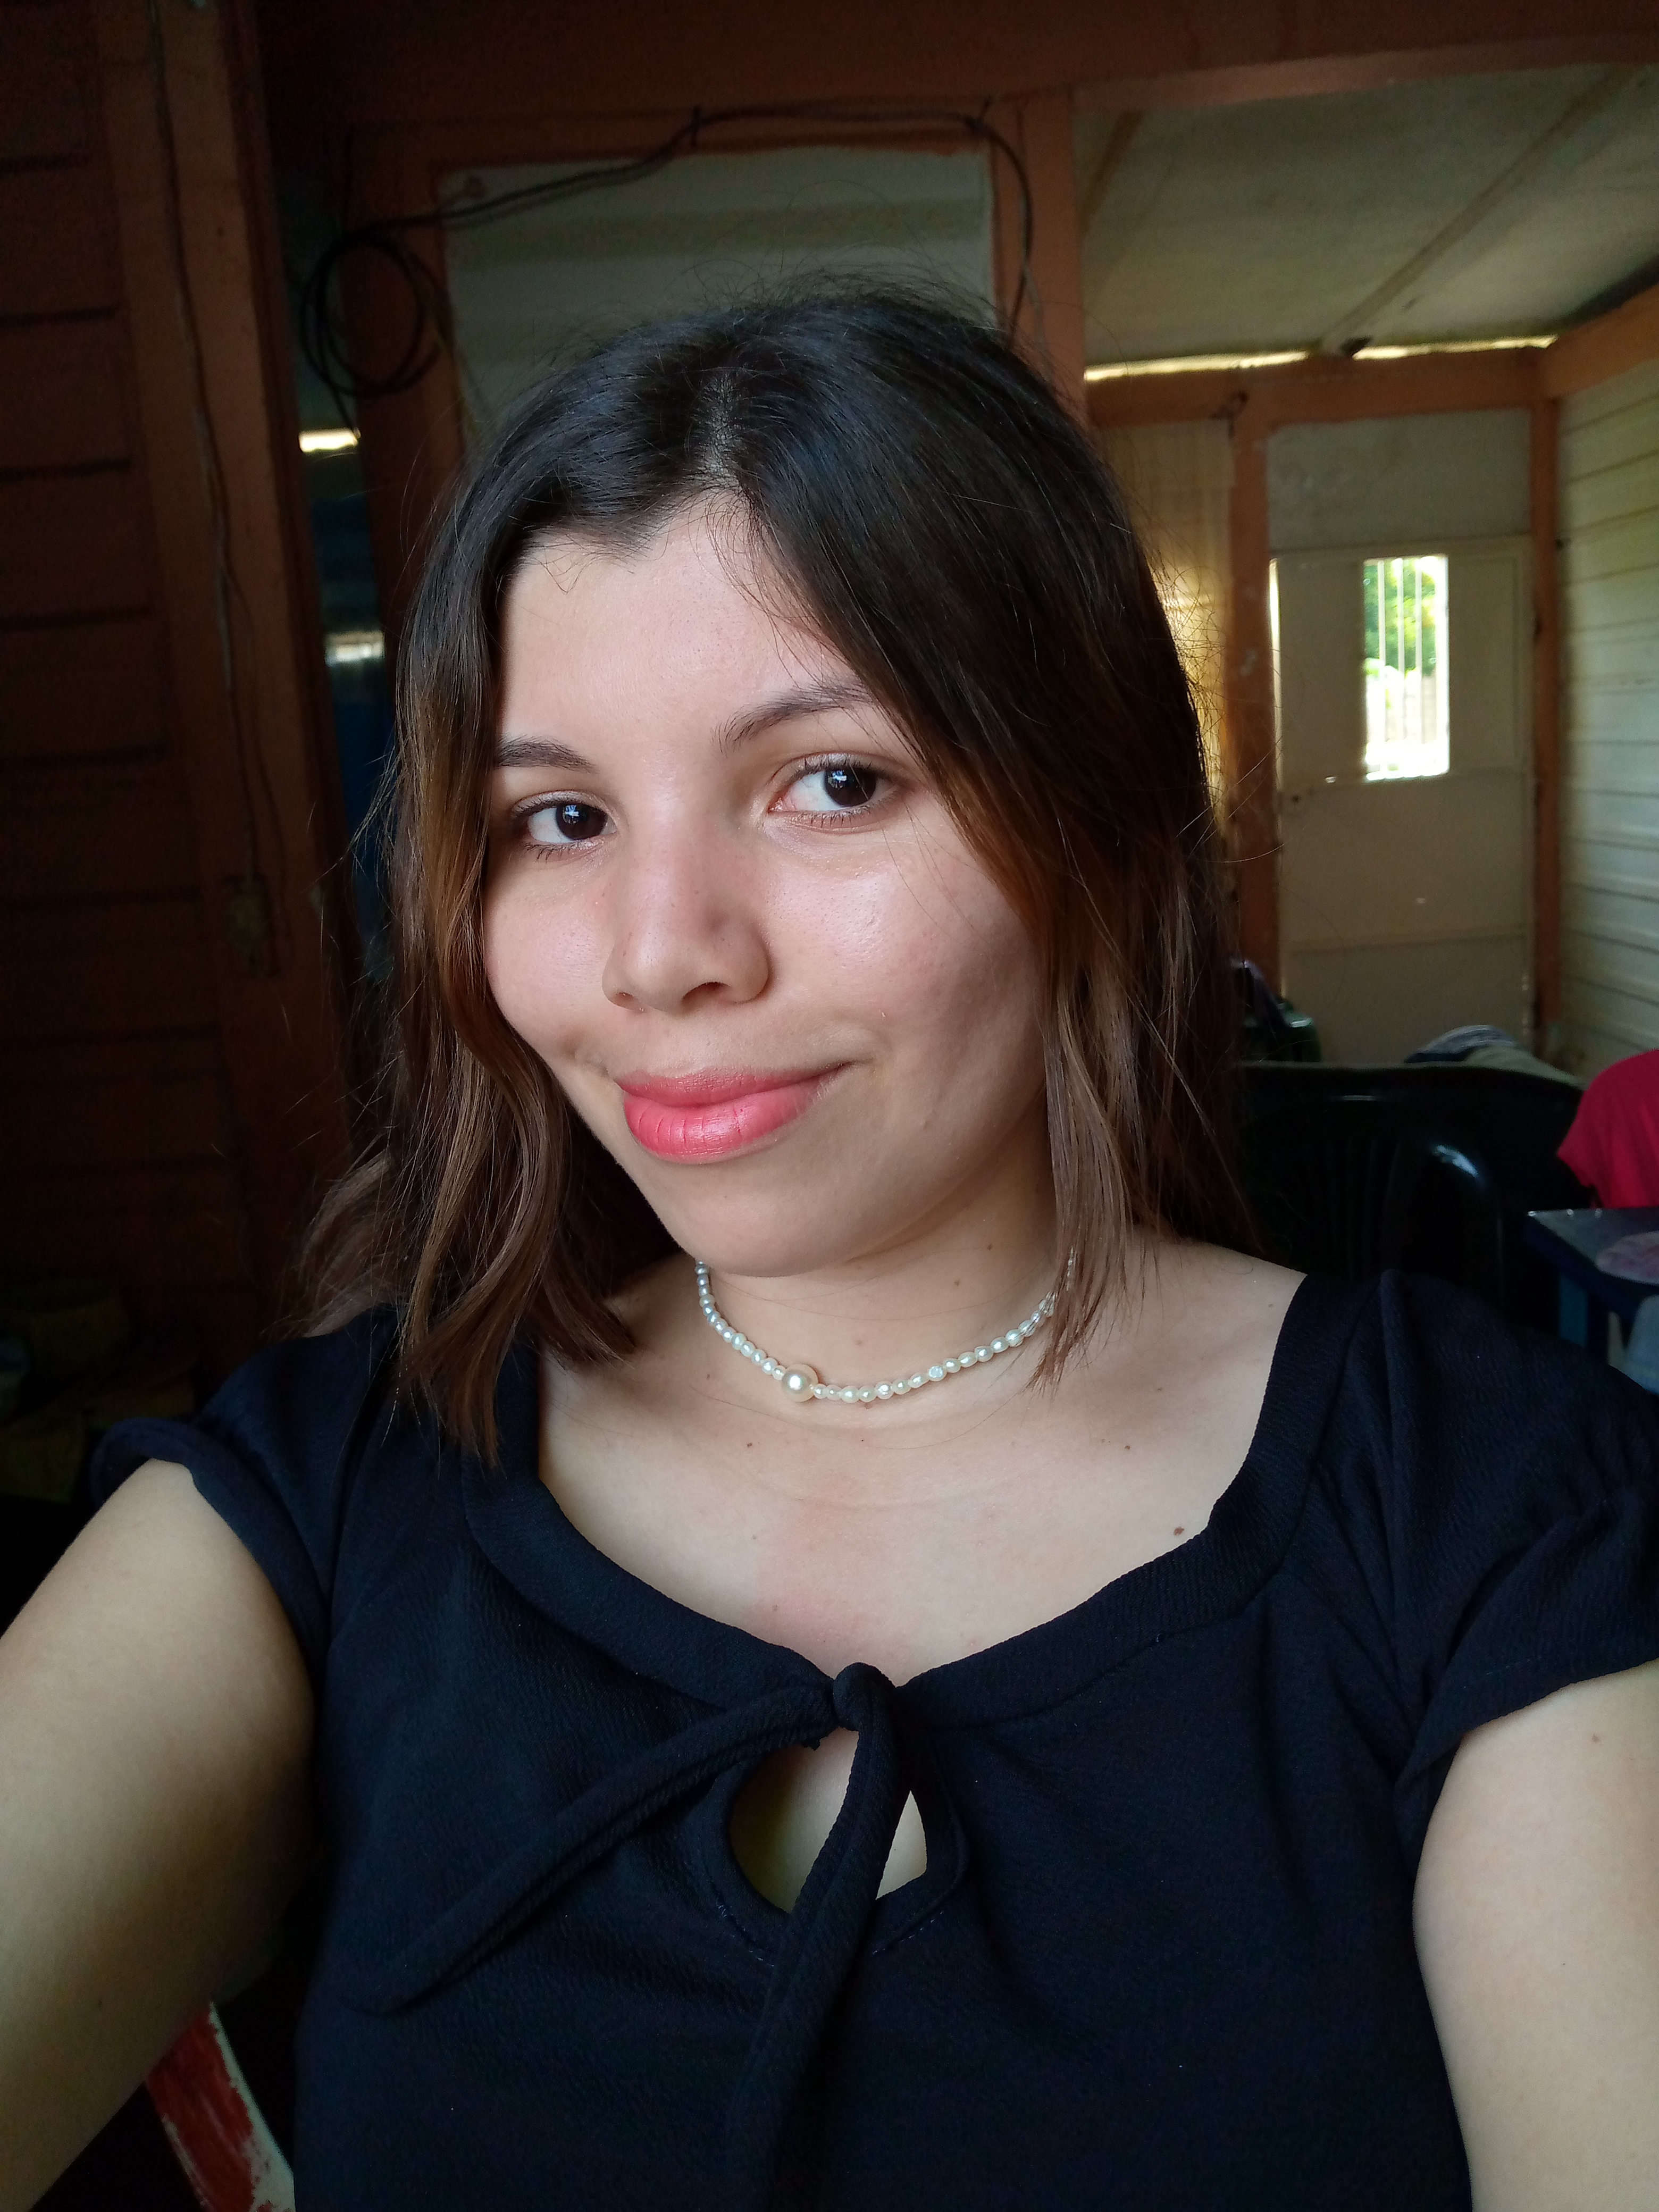
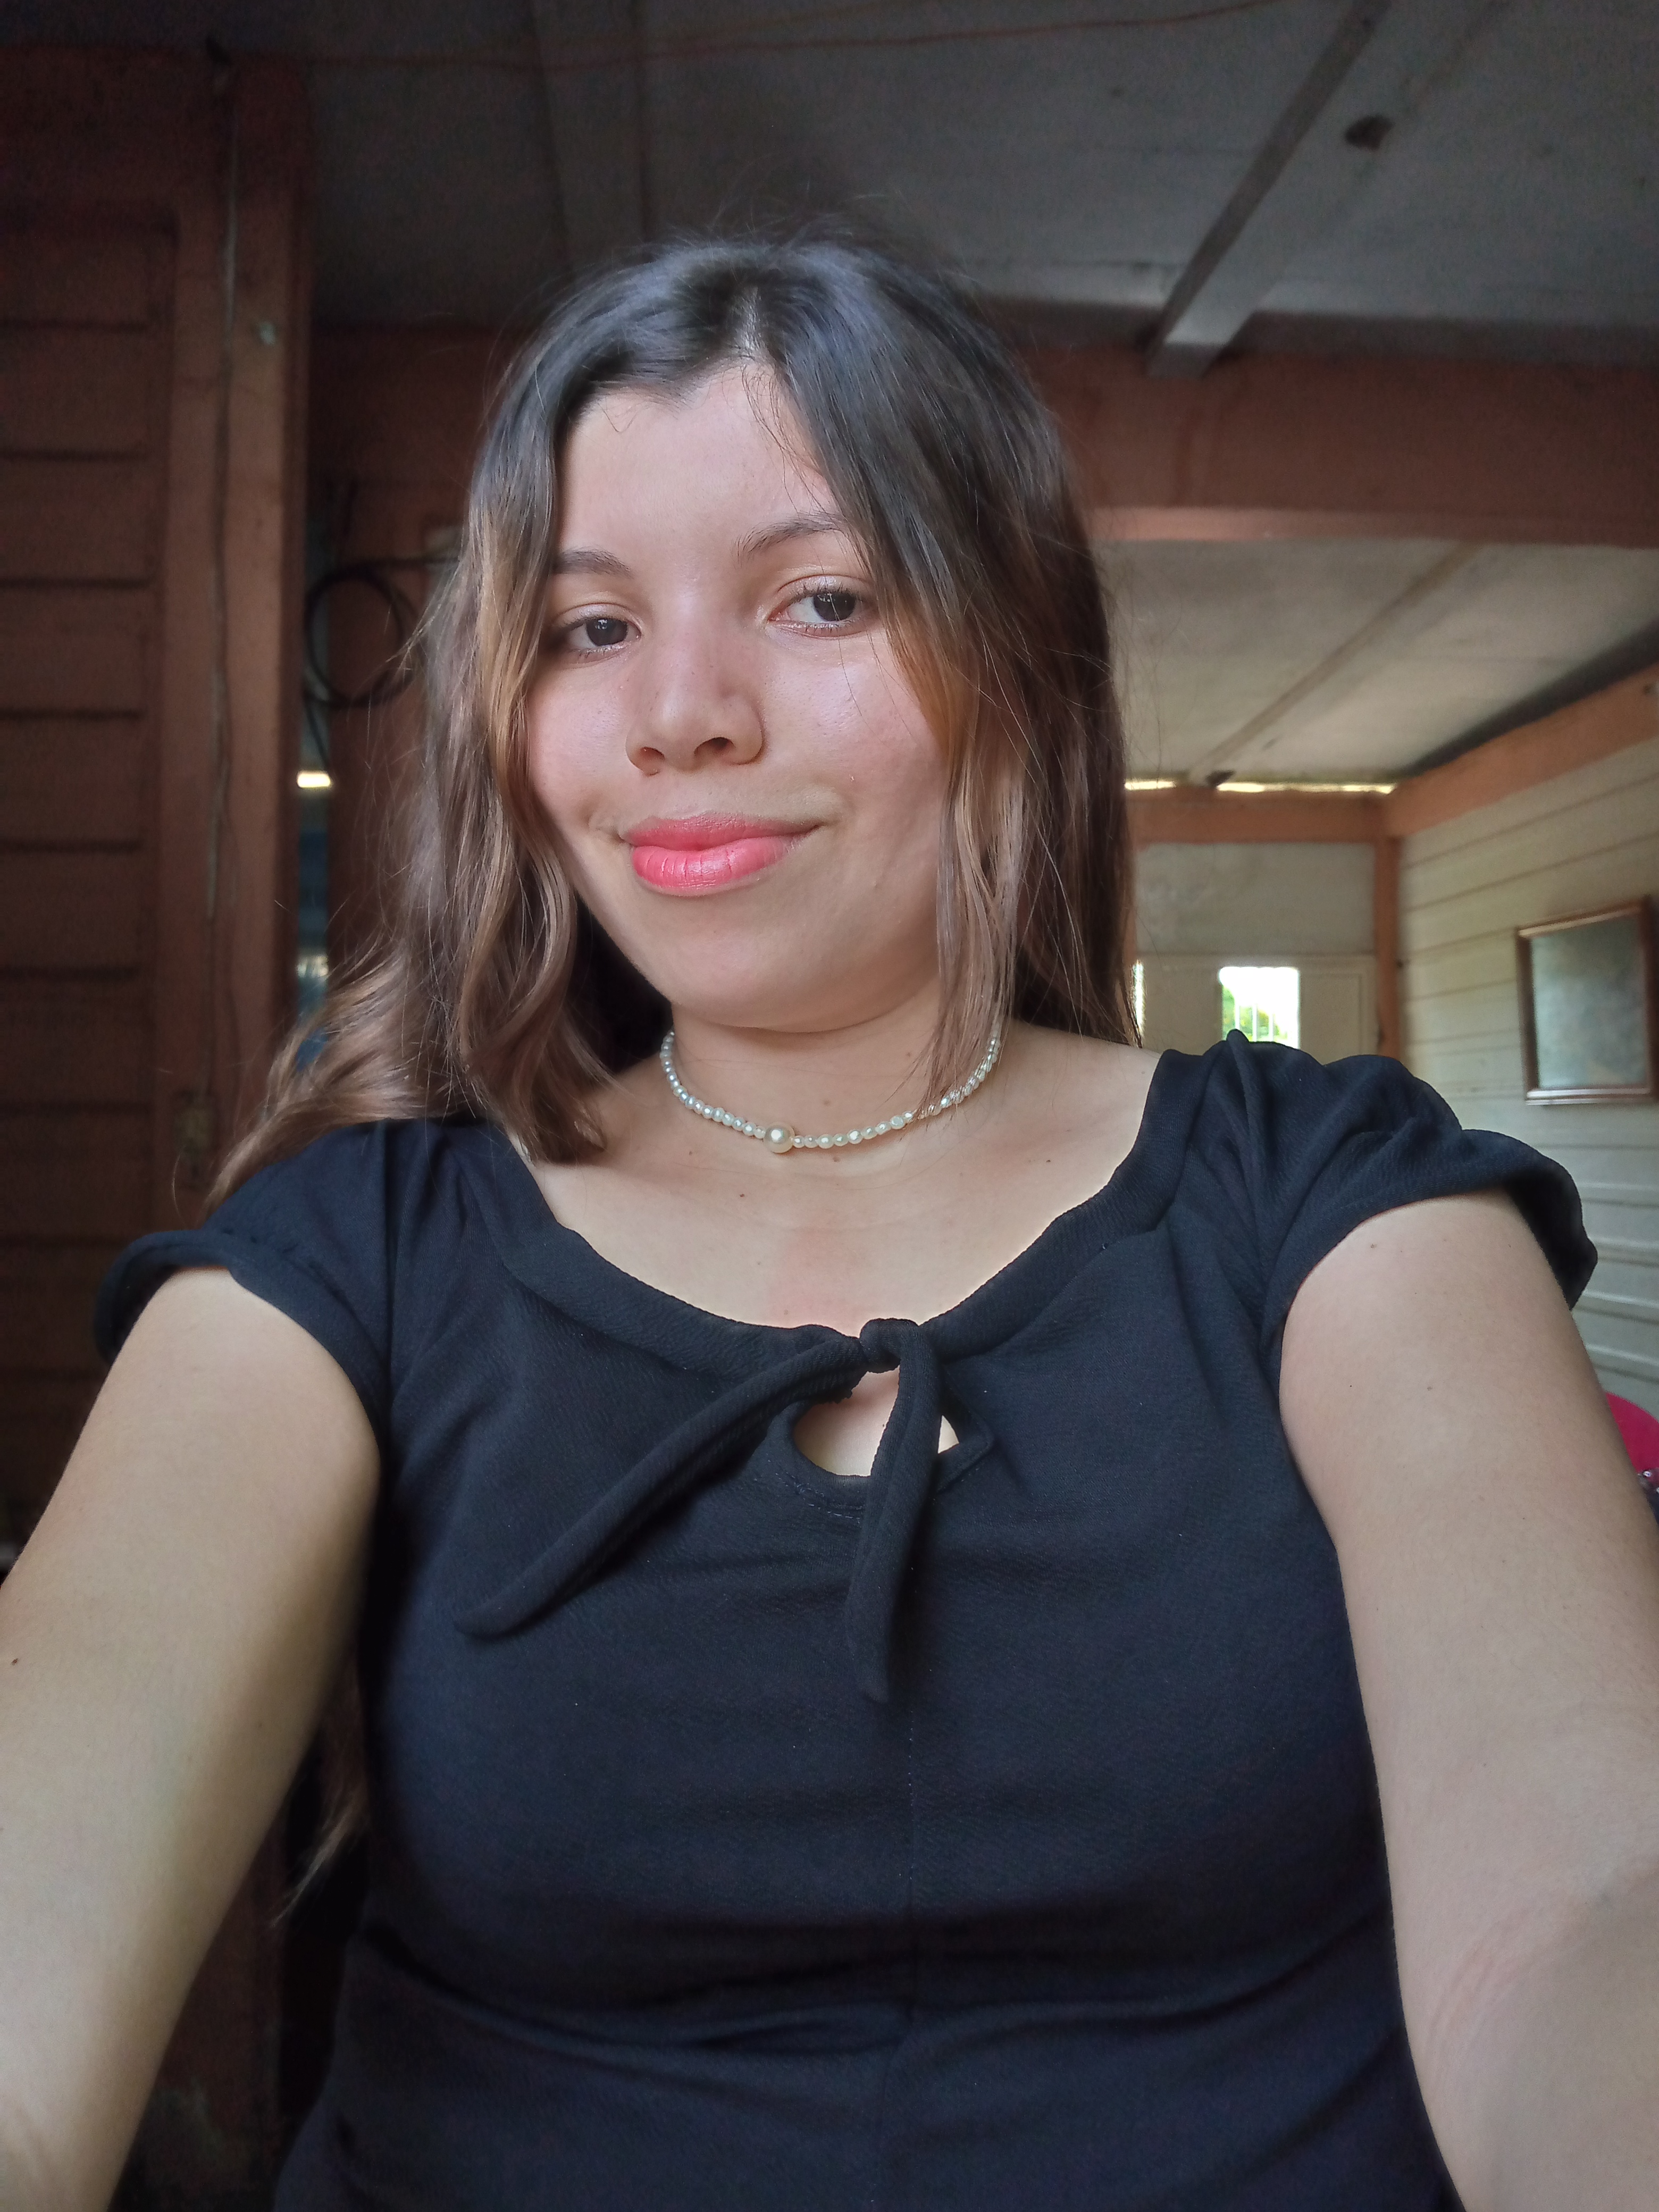

Mis amigos espero les haya gustado como elaboré está linda blusa con pasos sencillos estilo campesina ,si tienes algún detalle que saber y de como quisieras elaborarla no dudes en dejar tu lindo comentario y así saber tus dudas y opiniones ,me despido de ustedes tiernamente y espero disfruten mucho de esta tarde en compañia de sus familiares y amigos ,gracias de corazón por tu apoyo y el inmenso cariño ,nos vemos en otro próximo blog de ideas creativas. ✨✂️
My friends, I hope you liked how I made this beautiful blouse with simple peasant-style steps. If you have any details to know and how you would like to make it, do not hesitate to leave your nice comment so that I know your doubts and opinions. I say goodbye to you tenderly and I hope Enjoy this afternoon very much in the company of your family and friends, thank you from the bottom of my heart for your support and the immense affection, see you in another next blog of creative ideas. ✨✂️
Es un estilo de blusa que me gusta mucho, la tela es superadecuada para este tipo de prendas por lo suave y cómoda que es. Te quedo muy linda.
@lauracraft muchas gracias mi hermosa por tu bello comentario así es la tela me encanta súper enamorada con ella aprecio que te haya encantado muchos saludos y feliz noche para ti ❤️✨
Gracias mi linda feliz noche, éxitos con tus preciosos diseños, te felicito.💖
A lovely blouse tutorial, the fabric is nice and it fits you well. Thanks for sharing the tutorial.
@mónica-ene muchaa bendiciones para ti mi linda y me alegra te haya gustado este tutorial
WOW! It is so beautiful. Love its design. It looks amazing. It shows your skills. Well done!
@diyhub Great, thank you very much for your appreciation, a pleasure to continue showing my work, thank you for the support, grateful for the nice gesture
Hermoso proyecto Anne, me encanta el detalle de la tira en el cuello. Y el color negro siempre es muy hermoso y elegante. Te quedó muy bien, felicitaciones 😃
@lauramica muchas gracias hermosa que alegría te gustó esta blusa como a mi también me ha encantado creo no parare de usarla 🤭feliz noche muchas gracias
¡Enhorabuena!
✅ Has hecho un buen trabajo, por lo cual tu publicación ha sido valorada y ha recibido el apoyo de parte de CHESS BROTHERS ♔ 💪
♟ Te invitamos a usar nuestra etiqueta #chessbrothers y a que aprendas más sobre nosotros.
♟♟ También puedes contactarnos en nuestro servidor de Discord y promocionar allí tus publicaciones.
♟♟♟ Considera unirte a nuestro trail de curación para que trabajemos en equipo y recibas recompensas automáticamente.
♞♟ Echa un vistazo a nuestra cuenta @chessbrotherspro para que te informes sobre el proceso de curación llevado a diario por nuestro equipo.
🏅 Si quieres obtener ganancias con tu delegacion de HP y apoyar a nuestro proyecto, te invitamos a unirte al plan Master Investor. Aquí puedes aprender cómo hacerlo.
Cordialmente
El equipo de CHESS BROTHERS